![]()
![]()
![]()
![]()
![]()
![]()
![]()
![]()
![]()
![]()
![]()
![]()
![]()
![]()
![]()
![]()
![]()
|
|
|
|
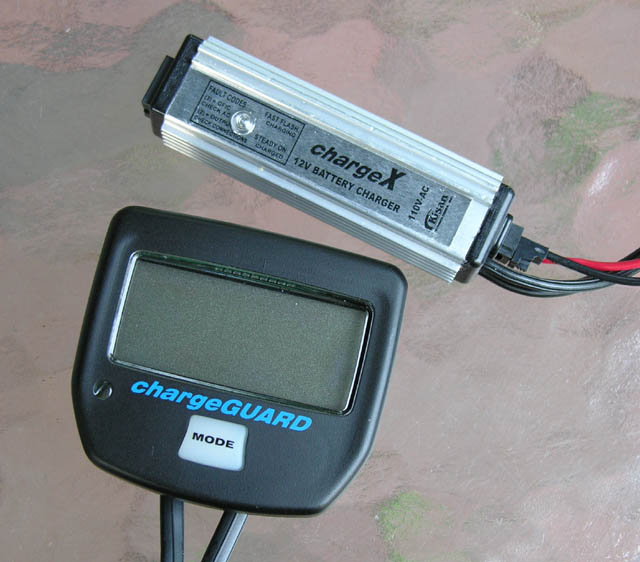
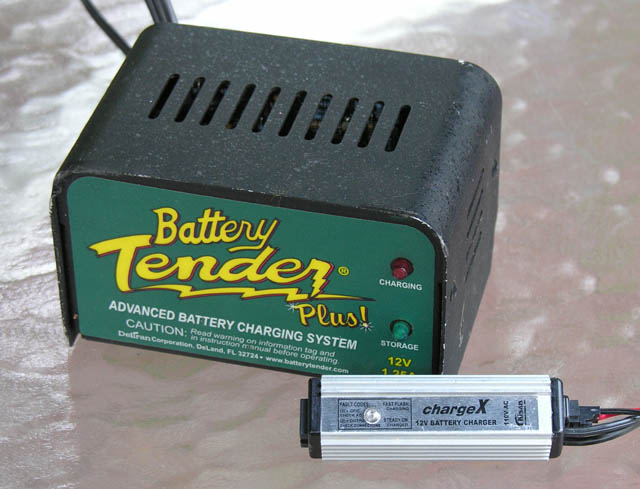
Kisan ChargeGuardI installed both the Kisan chargeX and chargeGuard products on my motorcycle. Click on small images for larger photos
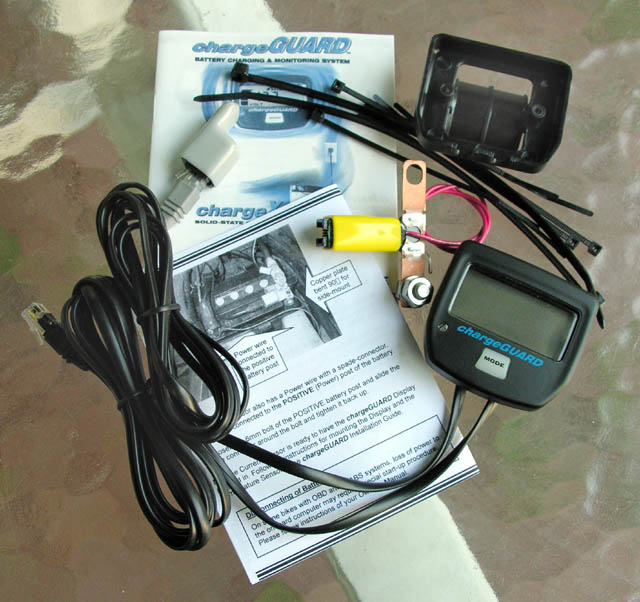
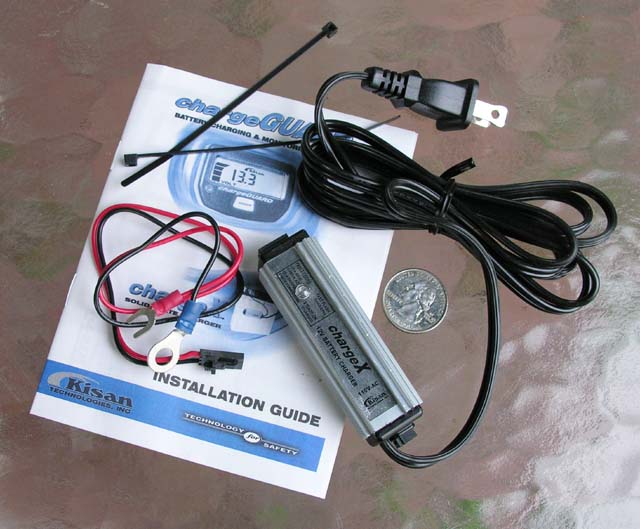
So with both products working in tandem, it's much easier to monitor the state of the electrical system... and I get a great real-time digital thermometer in the process. This replaces the battery monitor I installed a couple of years ago. chargeGuard package contents
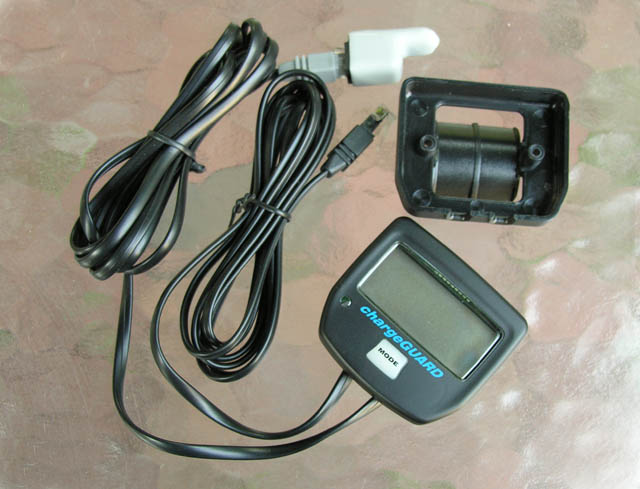
The meter with battery and temperature sensors:
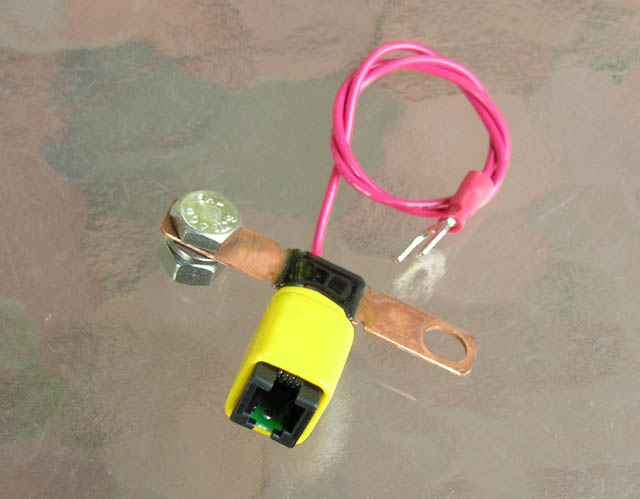
The ground shunt (to sense current draw) and the positive wire (red):
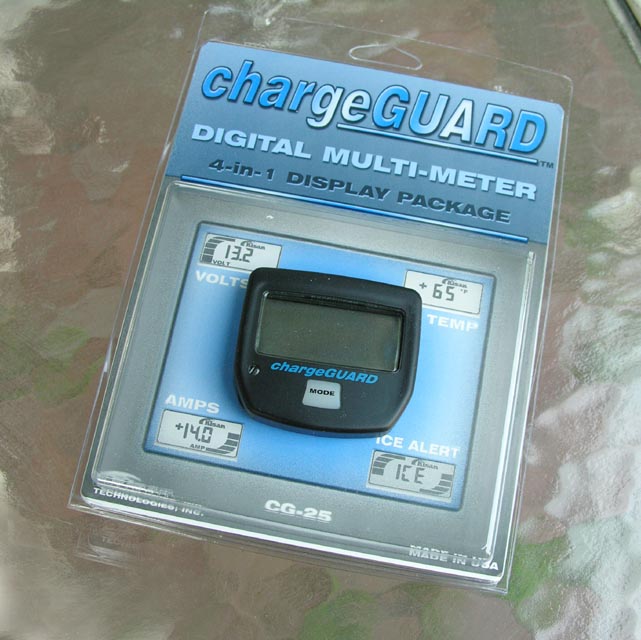
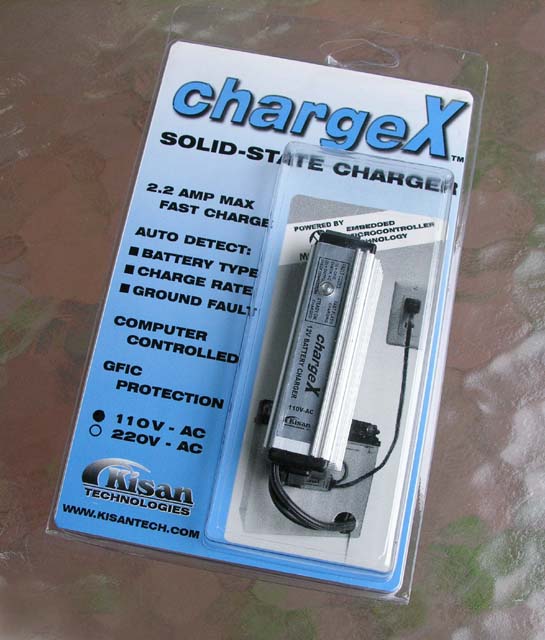
chargeX package contents
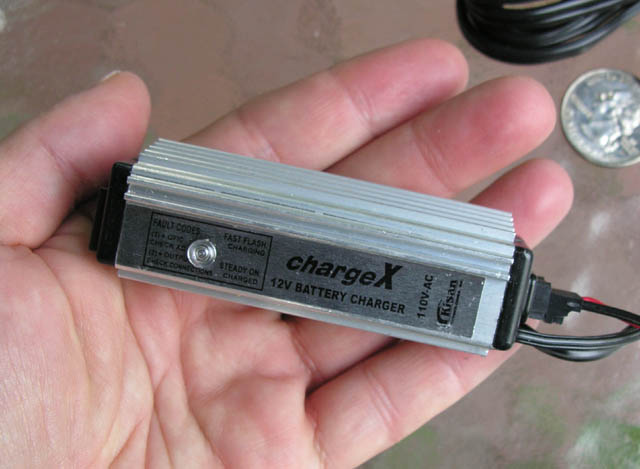
As you can see, the charger is pretty small... especially when compared to the already compact Battery Tender.
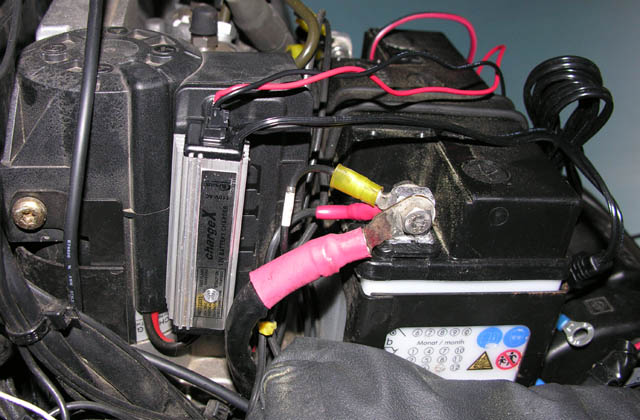
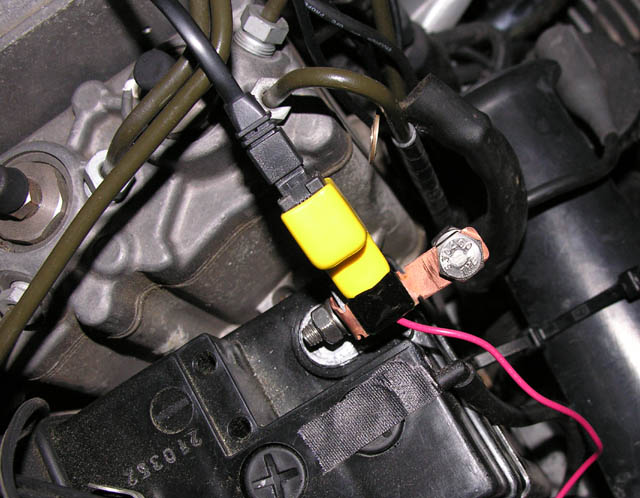
The installationBecause both items require access to the battery, the installation begins after removing the fuel tank. The chargeX is adhesive backed, so I attached it next to the battery. Positioning it here permits a little of the very bright red LED to be visible as reflections in some of the metalwork when the bike is reassembled.
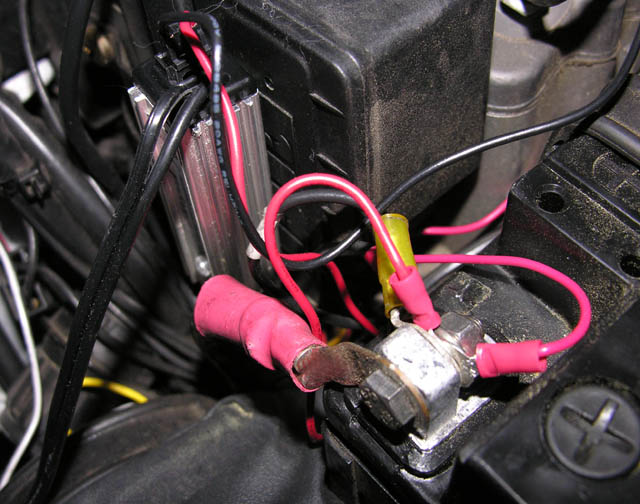
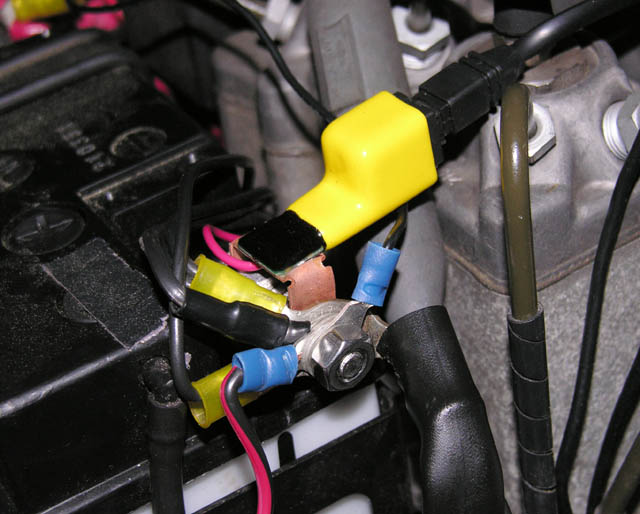
The chargeX needs only connections to the battery terminals. I routed the AC plug (it has a 6' cord) to a convenient spot on the frame under the seat. The chargeGuard adds a "shunt" to the ground terminal. This is used to measure amperage across the battery. One end of the soft copper shunt attaches to the terminal, the ground cables attach to the other end. The shunt is bent to make a neat installation. Though not shown in the photos, I also used some electrical tape to make sure the bent shunt did not touch the battery terminal. The red wire of the shunt is attached to the positive battery terminal.
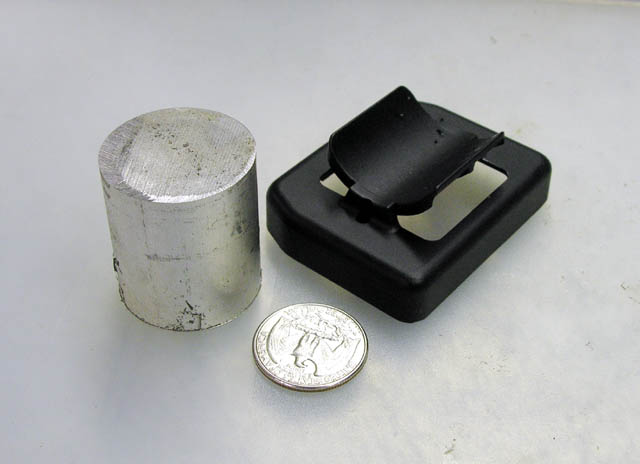
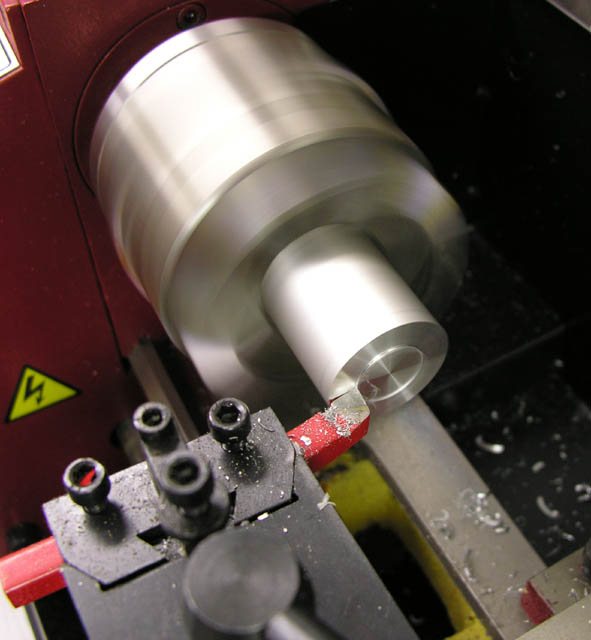
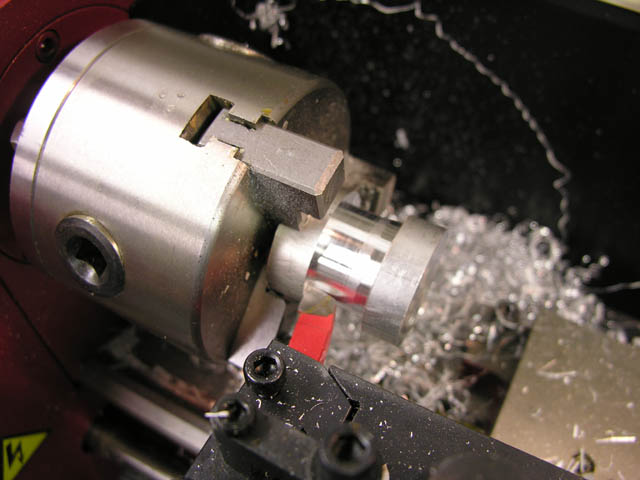
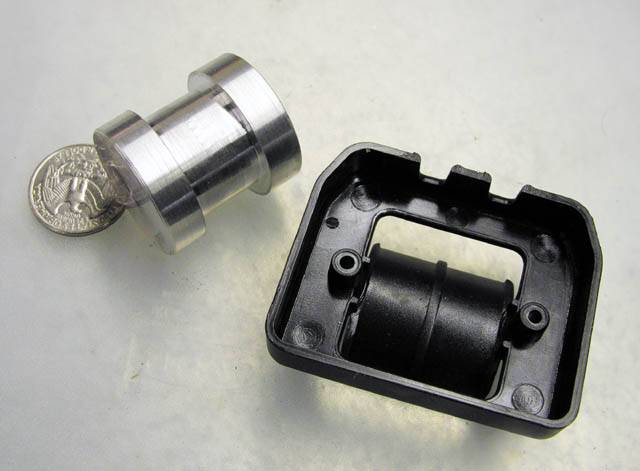
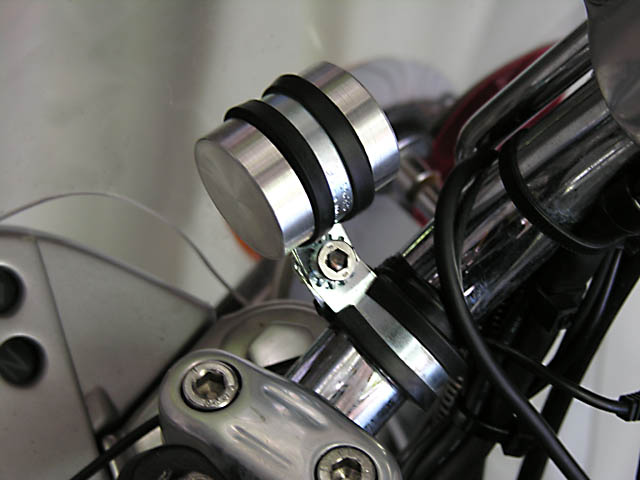
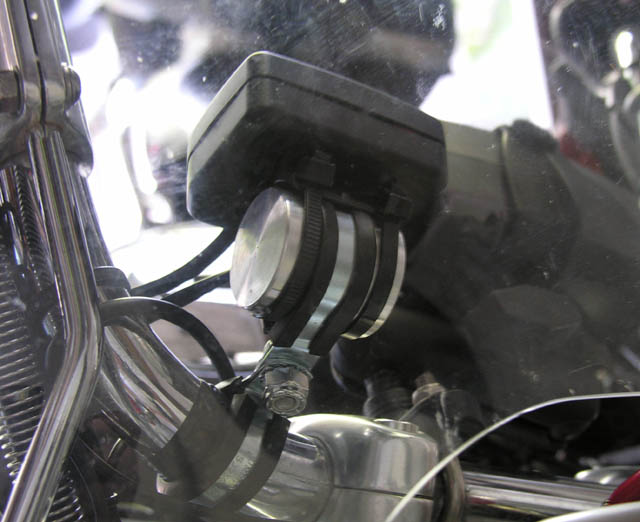
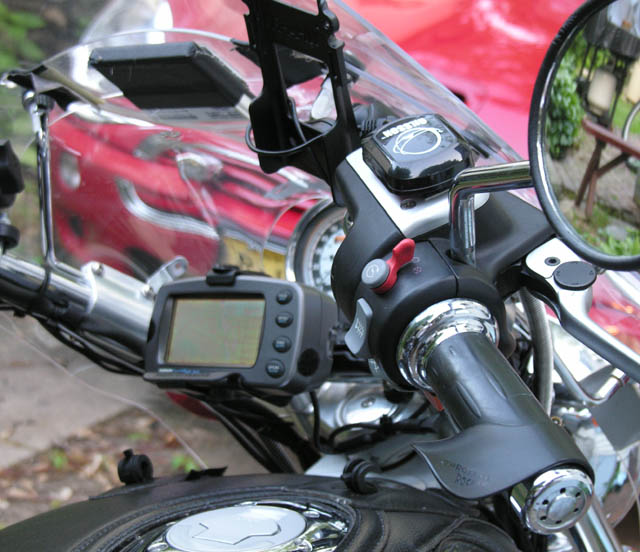
Because I've got a lot of "stuff" on the console of my bike already, I decided to mount the chargeGuard display low on my handlebars. I created a small block to afix the mounting plate to. Although others will easily find a convenient way of mounting their chargeGuard, this did give me me an excuse to play with my little lathe.
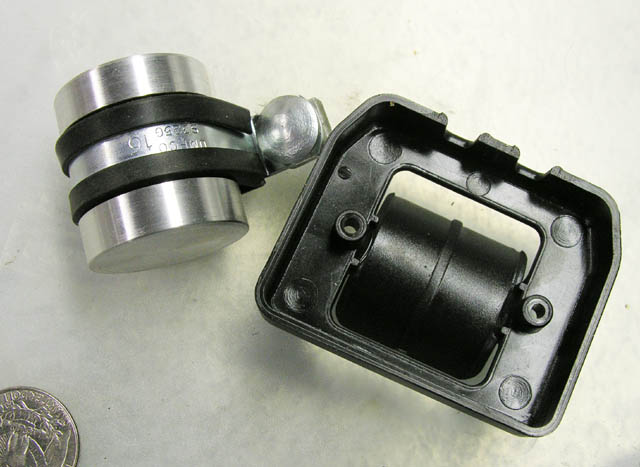
I cut a recess in a 1.25" aluminum rod to accept 1" tubing clamp/hanger. Wire ties secure the mounting plate to the aluminum rod. Another clamp will go around the base of my handlebar the two clamps are bolted together. This gives me a full range of position adjustments. The nut and bolt shown to facilitate the shop photo below are replaced by stainless steel hardware in the final mounting.
The next photos show the clamped mount in position.
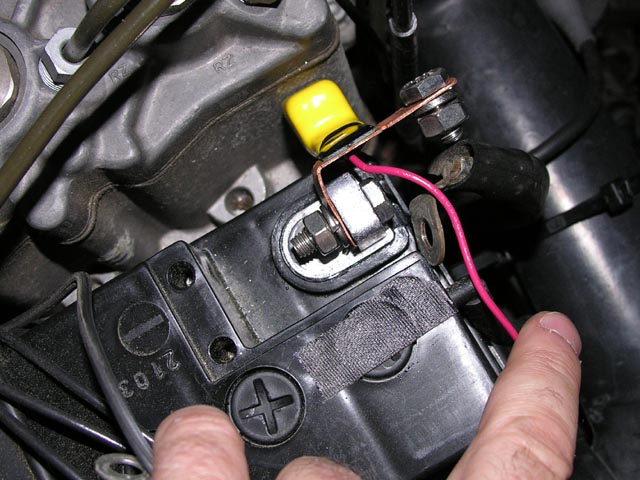
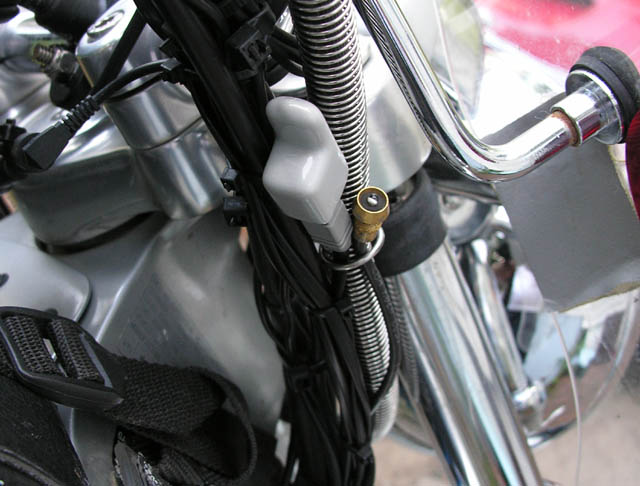
Next shows the ChargeGuard tied to the mount. Also shown is the grey temperature sensor that I've mounted near the existing light sensor for the Kisan PathBlazer headlight modulator.
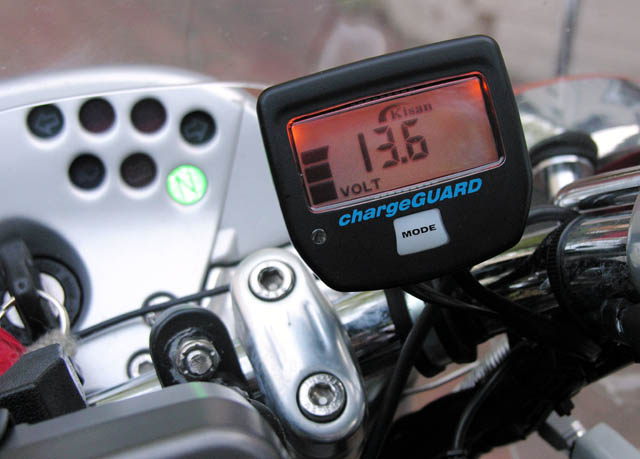
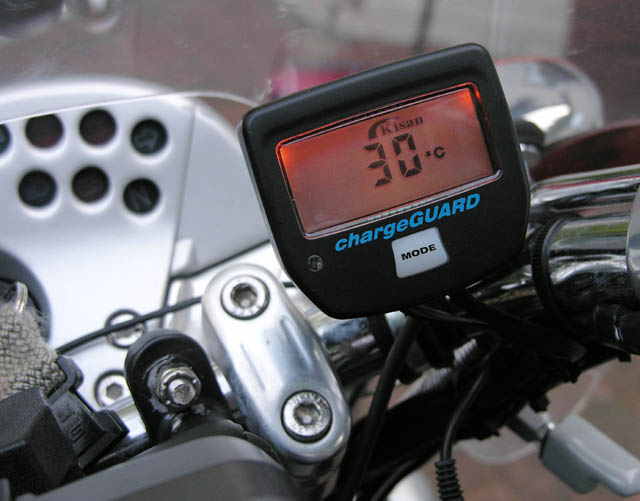
Now for some photos showing voltage, amperage, and temperature readings. The pictures were taken very late in the day so you can see the backlighting that adjusts for ambient light level.
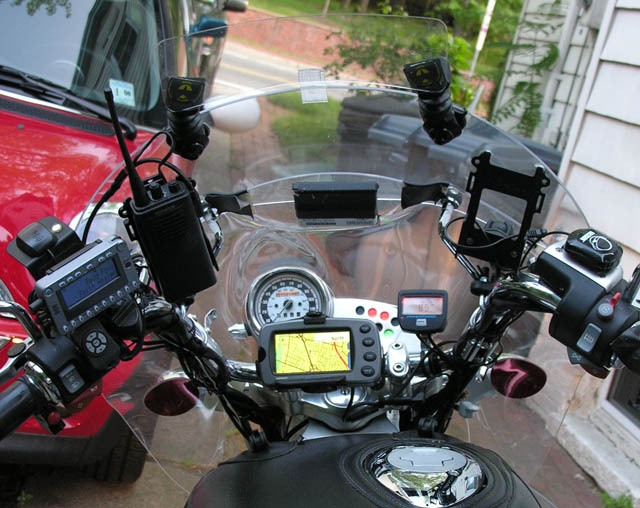
Finally a few photos of the devices on my console.
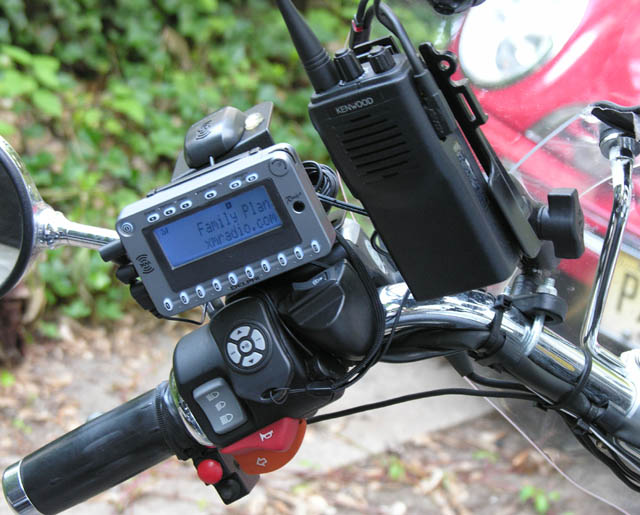
On the left grip is an XM Roady satellite radio, a RemoteRemote2 wireless iPod controller, Motolight switch, and the Kenwood GMRS 2-way radio on a RAM mount.
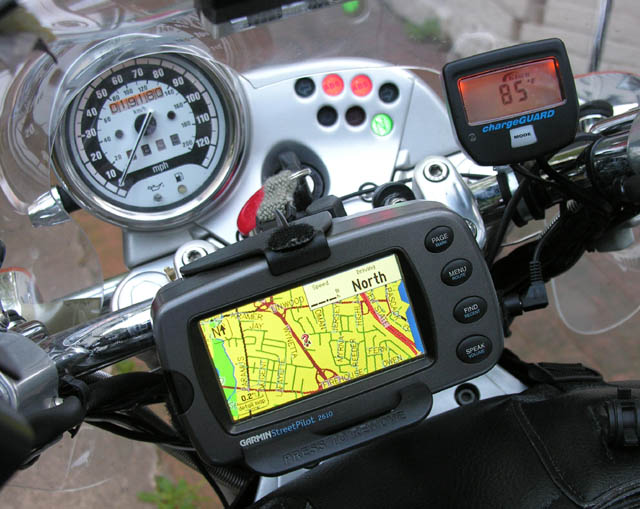
In the center is a Garmin 2610 (2gb memory) also on a RAM mount, and the ChargeGuard
On the right grip is an original style ThrottleRocker, a Glisson amplified antenna for the Garmin, and an extra RAM mount (to mount a CB radio or cell phone). Lots of toys! If you have comments, please visit the Guestbook. Copyright © 2005 by Zenreich Systems. All
rights reserved.
|
|
All text and photographs copyright © 1999 - 2017 Zenreich Systems. All rights reserved. |