|
| |
KamadoGas Installation
Note: that the information on this page is obsolete...
Kamado has since reworked their gas burner with a superior design, it now
replaces the draft door. The text below is for historical reference only,
and does not indicate our current setup.
After cooking for several months using only lump charcoal as a fuel, I
was anxious to try the new gas option for my #7 Kamado.
The photos that follow show the installation of the burner and control
assembly. The process involves cutting an opening in the side wall, above
the firebox and installing a metal frame in the wall. The burner slips
through the frame and is capped off with some cover plates.
This page deals pretty much with observations of the installation process,
which was very straightforward.
I think there will be a lot of discussion and suggestions about using this
new accessory to it best advantage.
Sometimes I may use it to simply light the coals, and then shut down the
gas. Sometimes I may cook by gas alone (probably a great way of
"brick oven" baking). And sometimes I may use a hybrid
technique... use the gas to heat soak the thermal mass of the walls, and then
throttle the gas down to a trickle and use a little bit of charcoal for
flavor.
Learning how to control the fuels and airflow will take some experimentation,
so this is yet another adventure in cooking.
Click on the small photos for larger, more detailed views.
 |
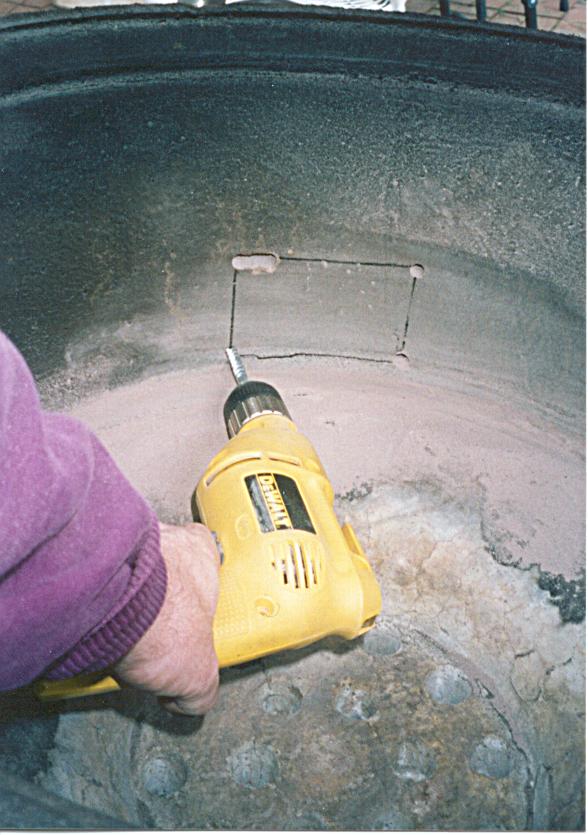
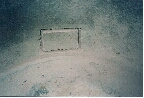
Using the steel frame as a template, I traced a line to use as a
guide for drilling through the side wall. I used a 3/8"
carbide masonry bit to drill through the wall, and stopped when the bit
hit the exterior tiles.
|
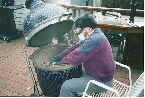 |
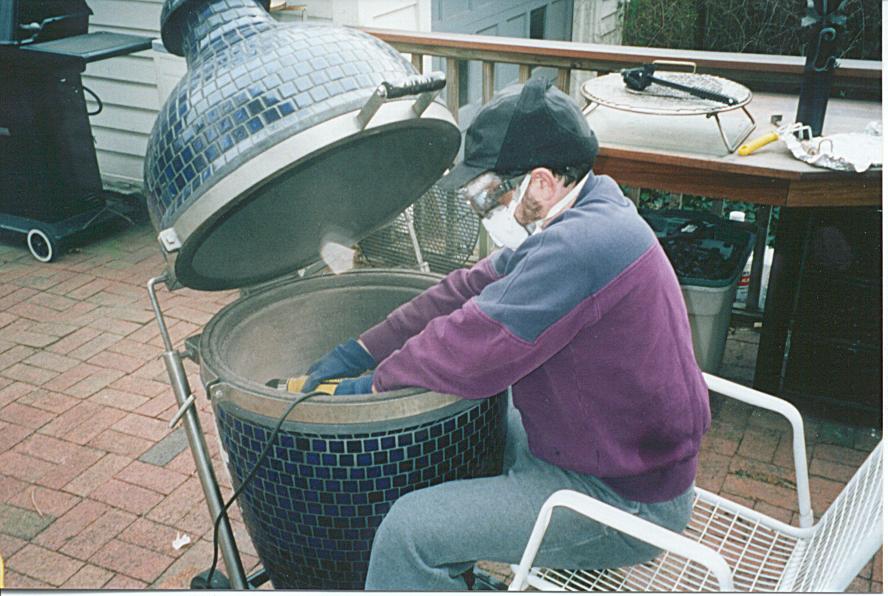
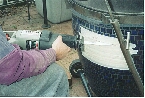
The temperature outside was about 25 degrees F, so it was pretty
brisk. I wore eye protection, a dust mask, and gloves through the
drilling process. The drilling was pretty easy, but a bit tedious
making all the holes close together. As you can see, I wasn't
about to stand bent over during the drilling, so I made myself
comfortable.
|
 |
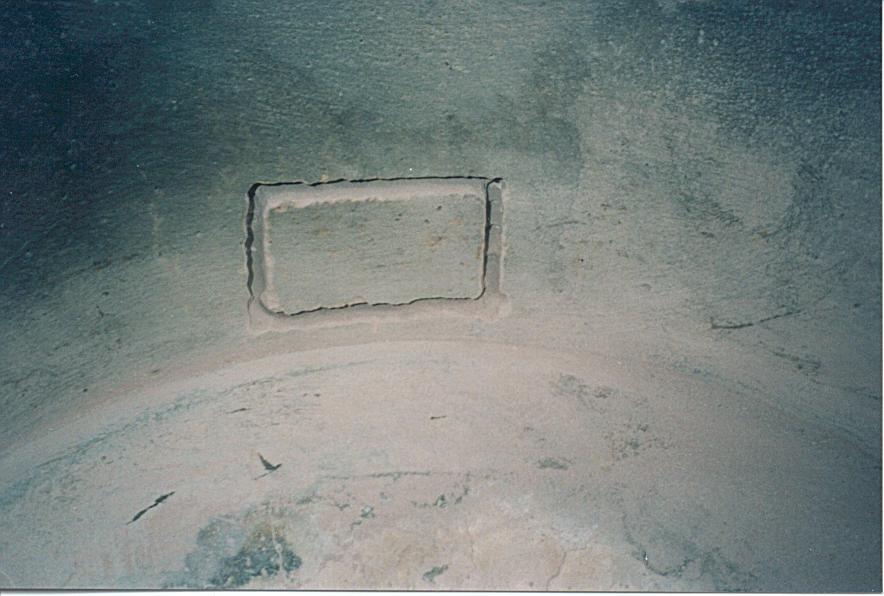
After all the holes were drilled, I rocked the drill in each hole,
effectively carving out a channel around the remaining wall section.
Because of the way my cooker is placed on my deck, I determined that
I wanted the control valve to be placed behind and on the left side as
you face the cooker. This way I don't need to get behind the K to
adjust the flow. If you are looking down at the cooker, with the
lid hinge in the 12 o'clock position, the new opening is in roughly the
10 o'clock position.
|
 |
The installation instructions call for drilling through the tiles,
but because I own a reciprocating saw, I chose to use a carbide blade to
slice through the tile.
I covered the tile with masking tape, then drilled a couple of pilot
holes at the corners from the inside. This let me know where to
saw. Once I got through a section of tile using a careful plunge
cut, I was able to insert the blade and cut out the remaining
tiles.
The only real reason for doing it this way, as opposed to tapping out
the tiles from the inside is that this way I didn't have to replace any
of the tiles at all (Kamado supplies some extra full and half tiles and
grout in their retrofit kit)
|
 |
A 1.5" steel frame gets cemented into the new opening. Any
tile and grout work should also be done before installing the
burner. The manifold will rest on the inside of this frame.
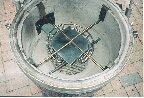
The burner gets slipped through the opening, from the inside of the
cooker. Two flanges (plates) are bolted together (one inside and
one outside the cooker) to keep the burner in place (though it can be
moved a little bit in the firebox).
A steel rod is fastened to the underside of the burner with a screw
to support the cast iron burner assembly. The rod straddles the
firebox.
|
 |
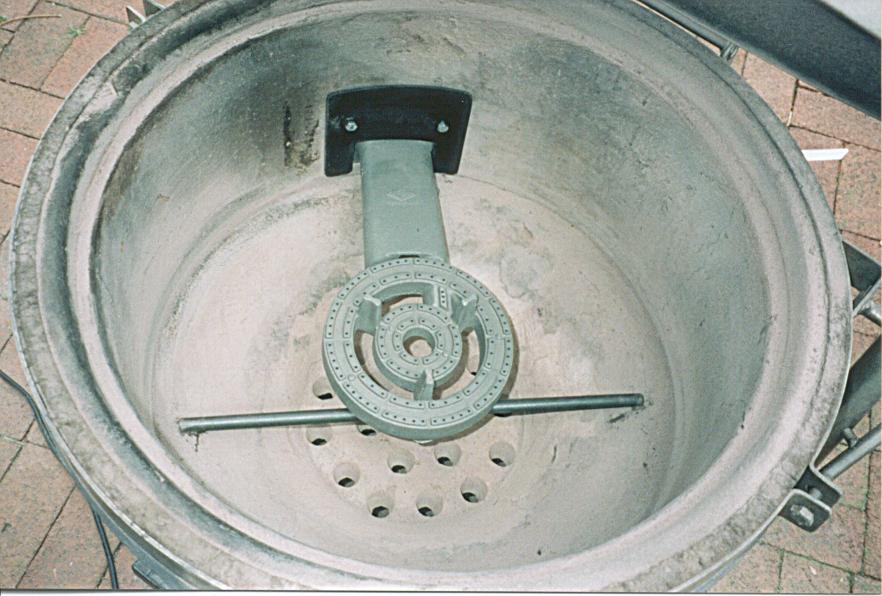
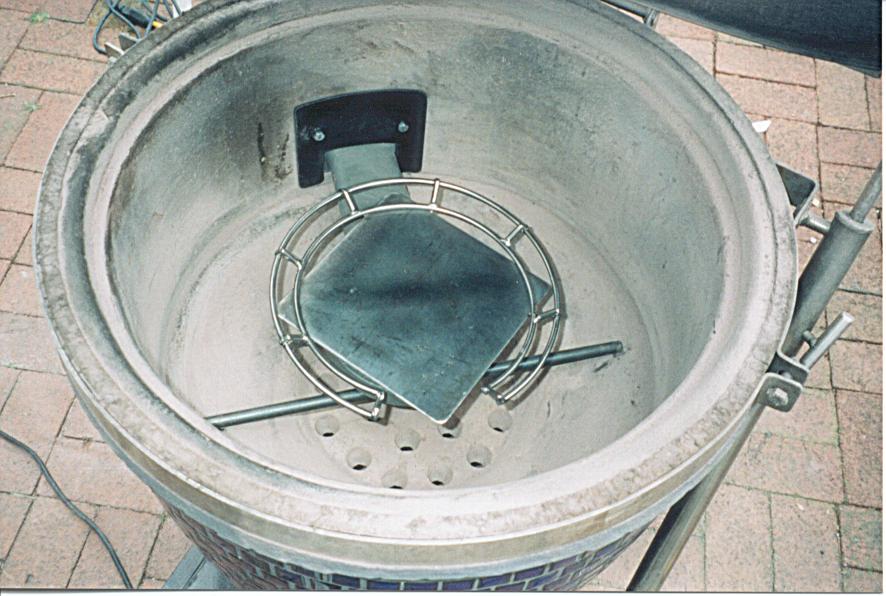
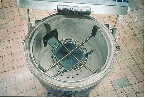
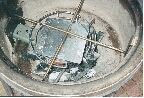
To finishing the interior assembly, add the burner cover /
charcoal basket. It is manufactured with a round post on the underside
that slips into the center hole of the burner.
|
 |
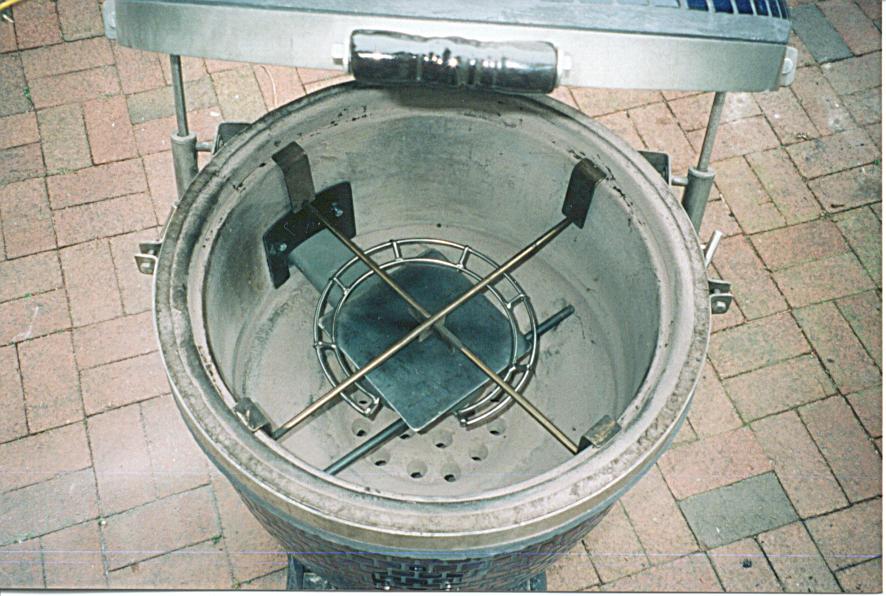
Filling out the inside of my K involves some accessories I've been
using frequently.
The top of the accessory "bottom bracket" is about two
inches above the cover plate. This bracket is used to support an
18" grill, or a drip pan, or a pizza stone/heat deflector.
|
 |
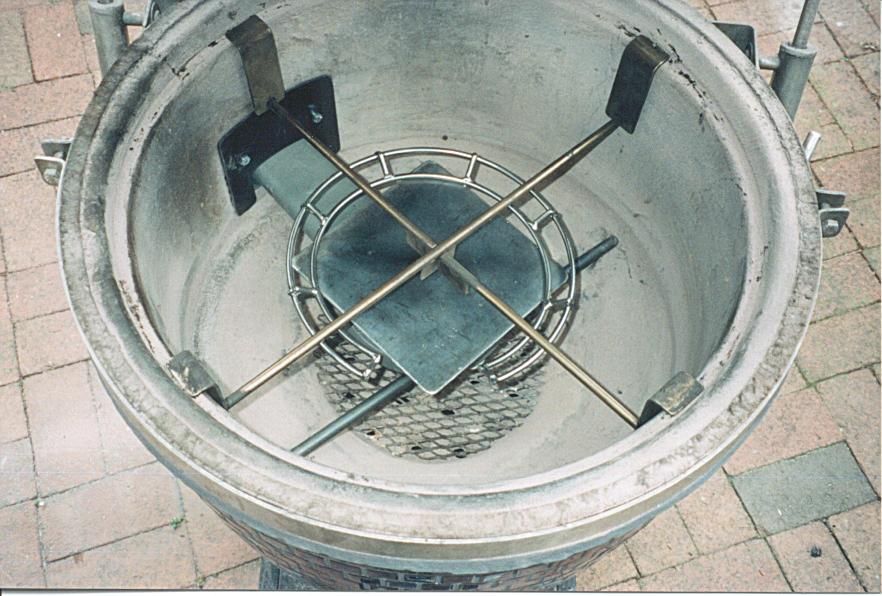
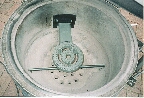
I prefer to use a piece of expanded metal over the air holes in the
firebox.
The 10" disk is cut from 1/2" 13 gauge expanded metal
sheets available from my local hardware store. I can cut three
disks from the 16x30" sheet in a few minutes using an electric jig
saw with a metal cutting blade.
Using the expanded metal grate, in my opinion, makes for easier
temperature control, as the round air holes in the firebox are never
blocked. Also, only the finest ash particles find their way to the
lower ash pit. It seems that a disk lasts about 6 months for me
before it needs to be replaced. The newer firebox design lets
small pieces fall through the firebox easier, but I still prefer using
the grate.
|
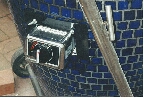 |
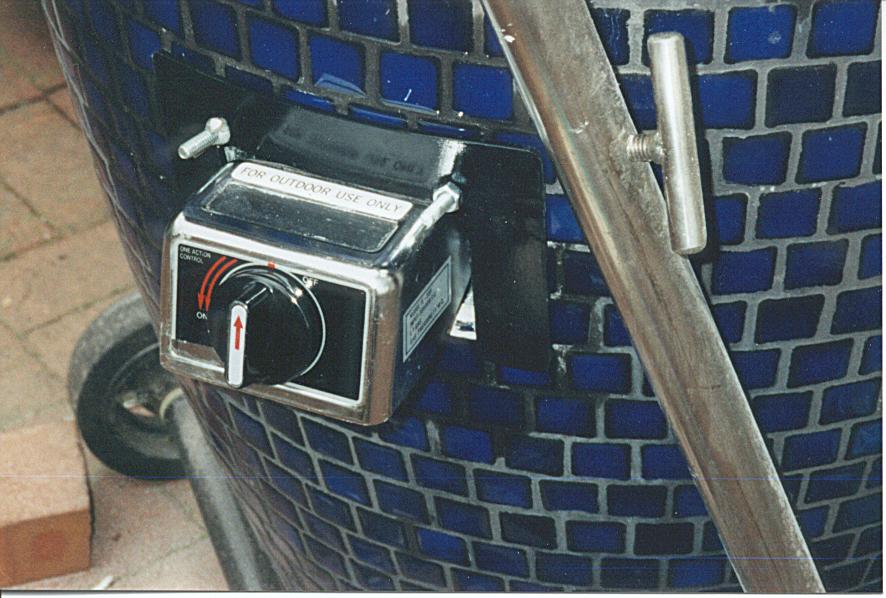
This photo shows the control unit placement with the spring prop in
the open position. I may replace both nuts on the bolts with wing
nuts, in case I want to remove the burner quickly for some
cooking. I'm not sure if I'll be doing this, but if I find it
useful to take out the burner, I want to make it as trivial as
possible. The Kamado company is also considering making a plug and
cover plates to restore the side wall to a solid configuration.
|
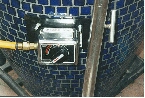 |
This photo shows the control unit placement with the spring prop in
the closed position, with the gas hose attached.
|
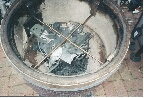 |
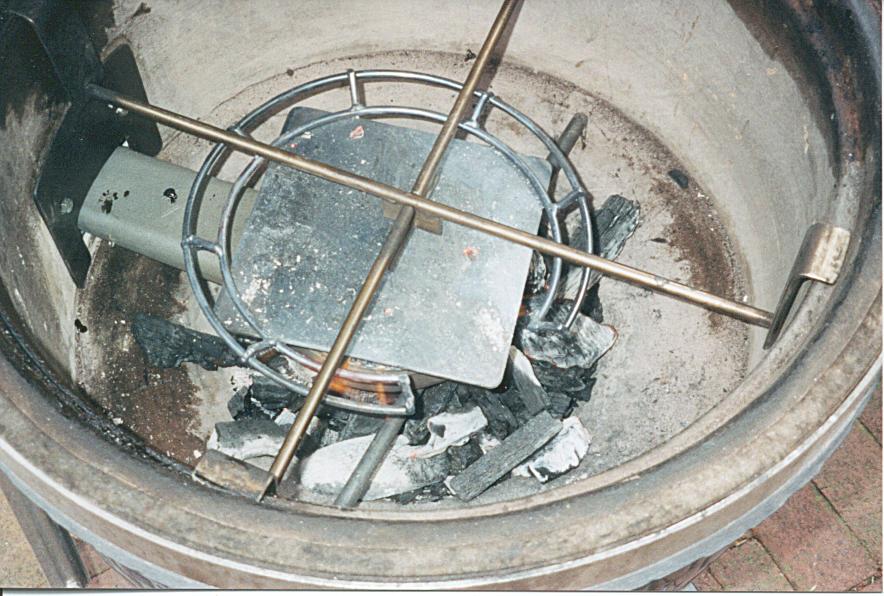
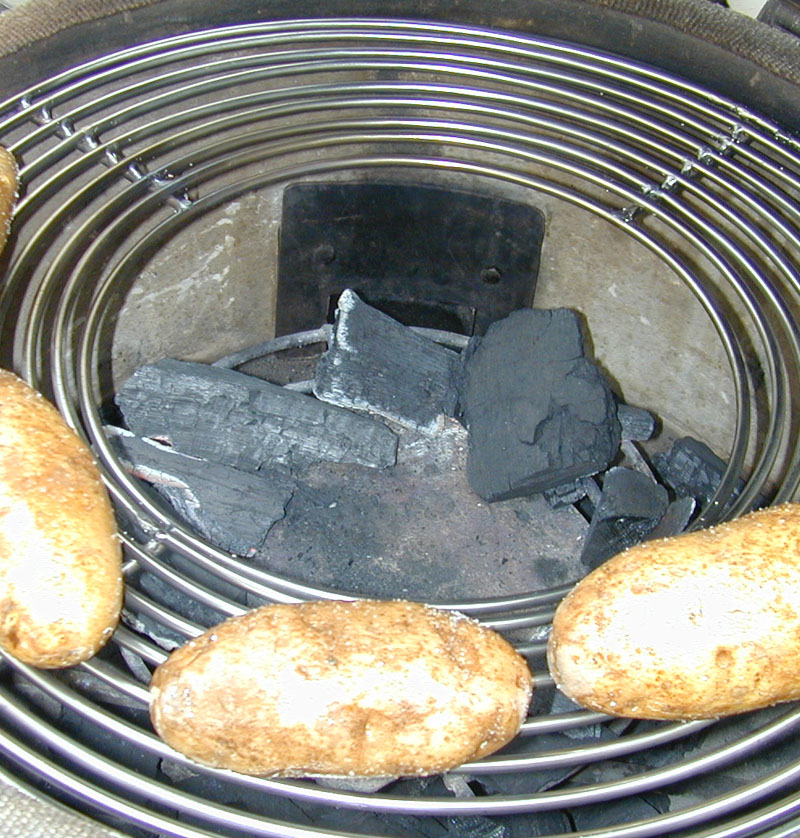
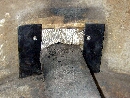
Here some coals are being heated on the coal basket. The flames
lick up the side of the plate and seem to light the coals positioned
along the edge of the basket pretty easily.
|
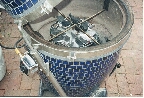 |
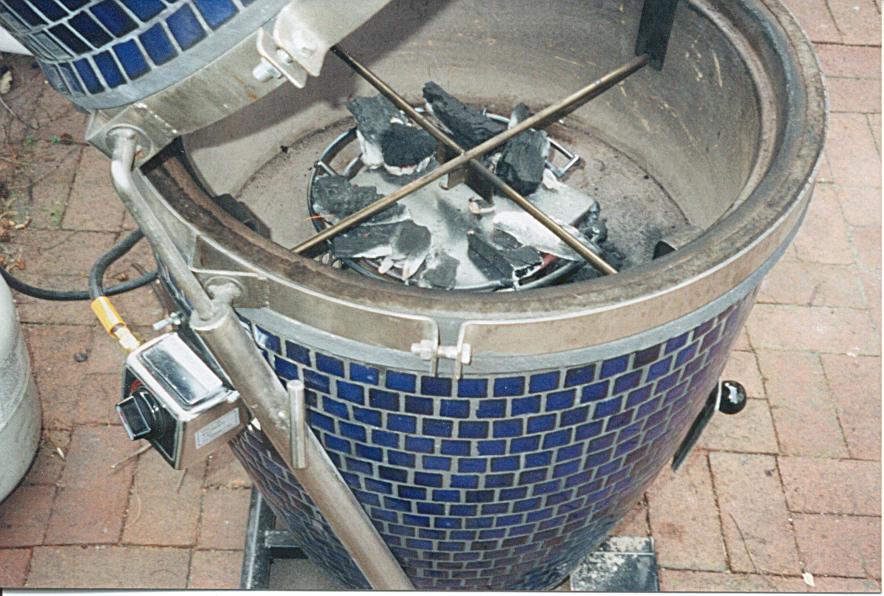
Another view of the entire assembly while heating some coals.
|
 |
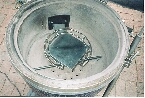
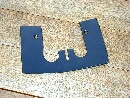
When the coals are lit, I brushed them off the plate onto the waiting
coals in the firebox. The cutout in the ring makes it easy to
clear the top plate.
|
 |
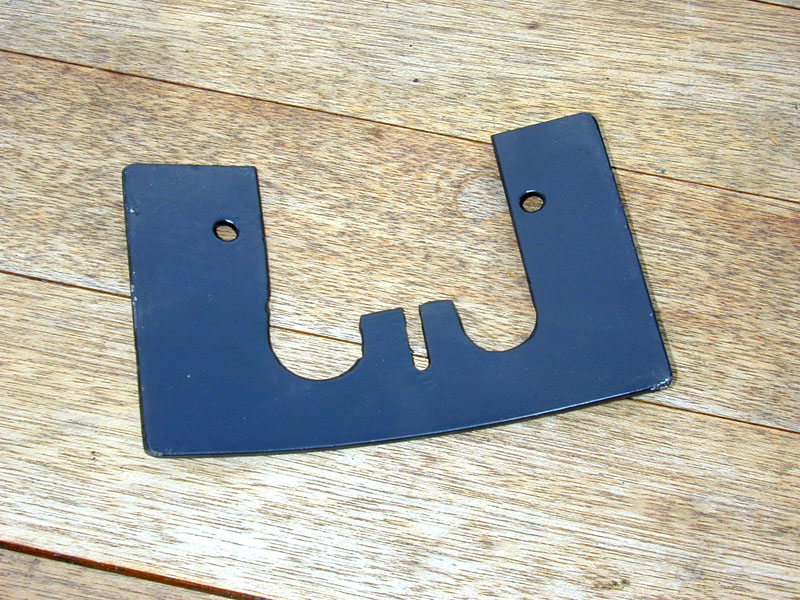
In April, I got a package from Kamado that included a new flange that
is form fitted to the manifolds on the underside of the gas
burner. This goes a long way to cutting down on air infiltration
through the frame, making temperatures easier to control.
|
 |
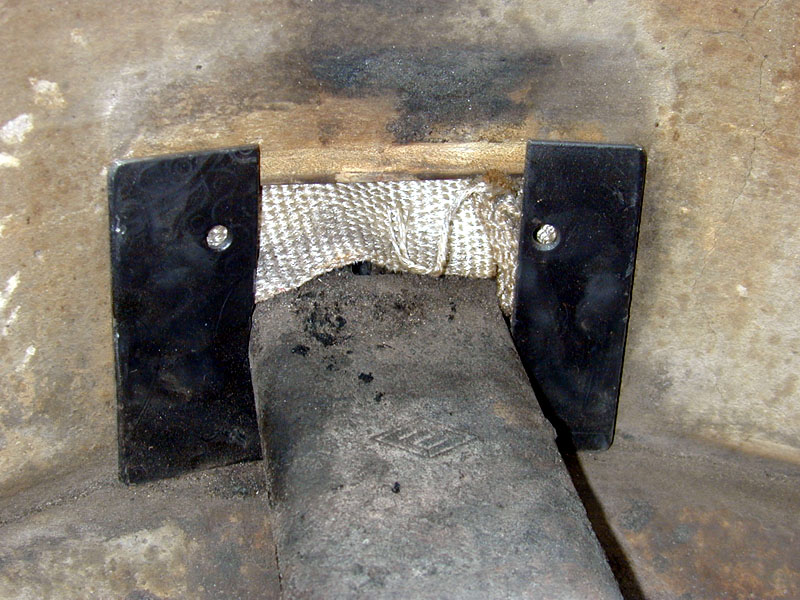
I have also filled the frame with some "stove tape"...
further reducing air infiltration. The original mounting flange
overlaps the new lower flange.
|
 |
This photo shows the two flanges together, as seen through the
opening in the optional mushikamado grill (with center grill insert
removed)
|
 |
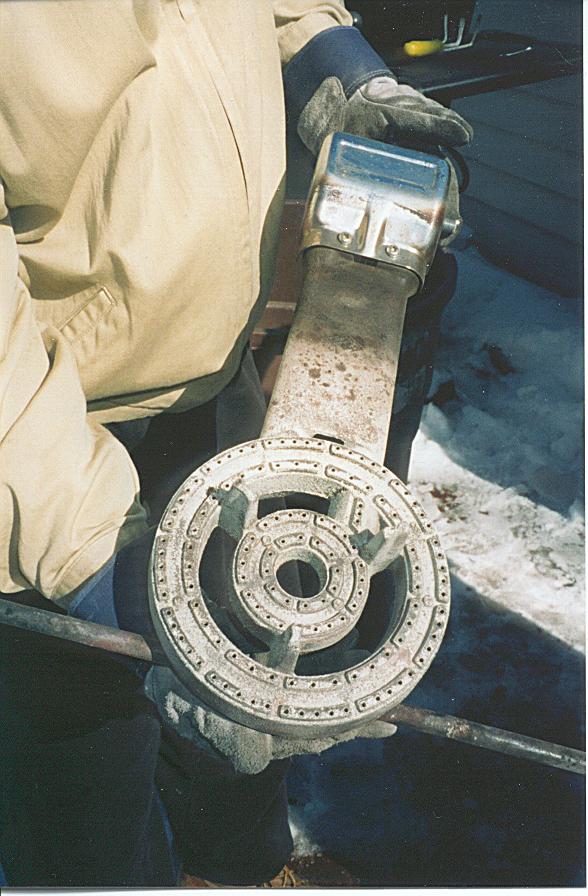
I recently removed the
burner to take a peek at how it was standing up to the heat from coals
being placed below it. The burner is holding up just fine. |
 |
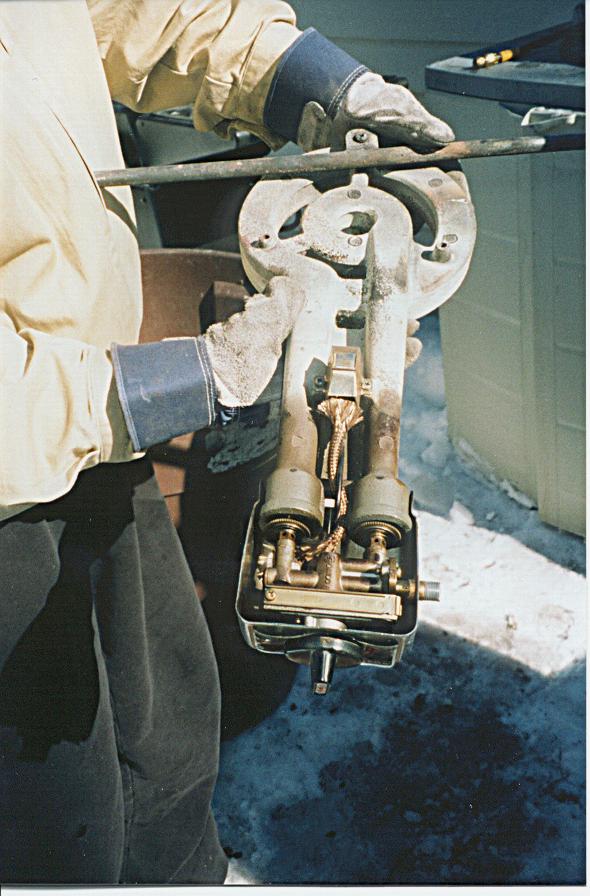
This photo shows the
underside. The piezo electric starter and the wiring is doing well
so far, despite 1000+ degree temperatures of coals that are often lit
below it. |
Copyright © 1999-2000 by Zenreich Systems. All rights reserved.
Revised: December 13, 2017
|