![]()
![]()
![]()
![]()
![]()
![]()
![]()
|
|
|
|
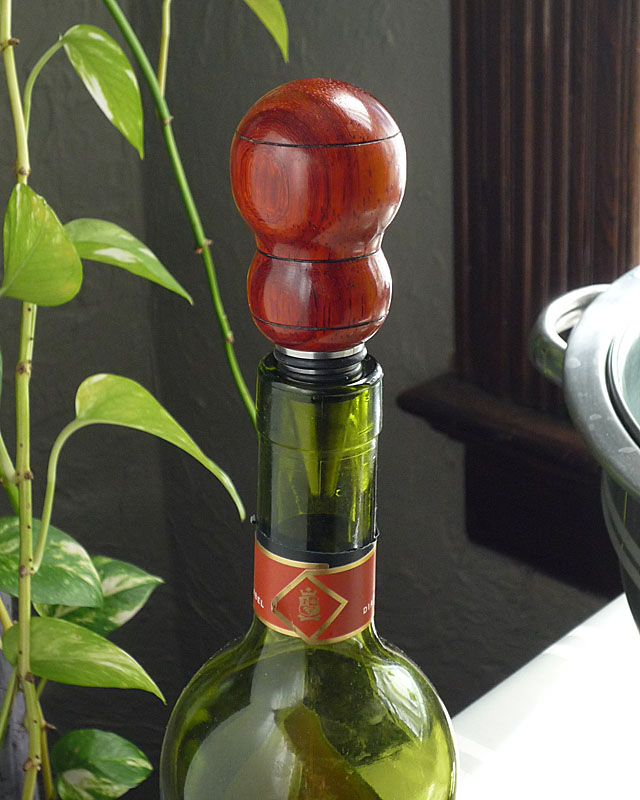
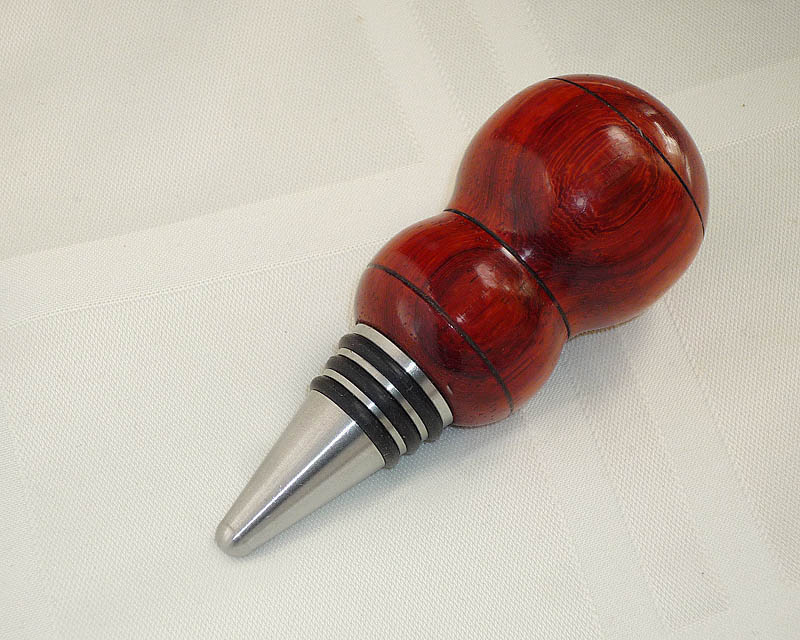
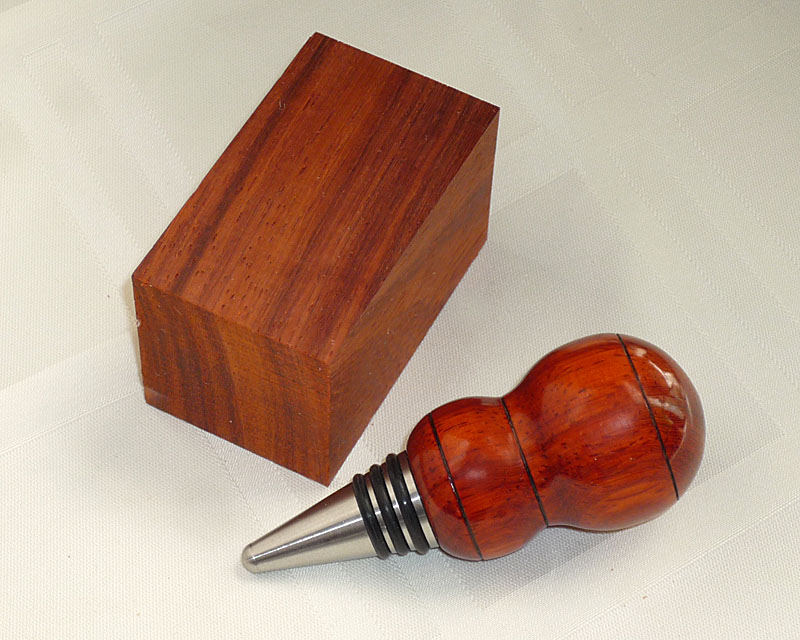
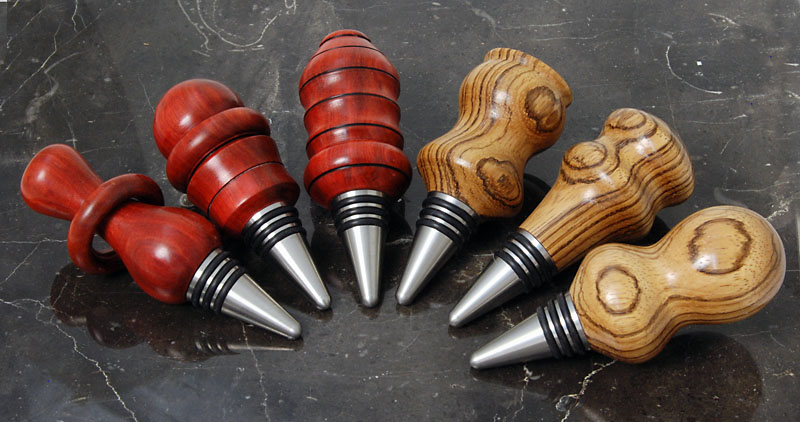
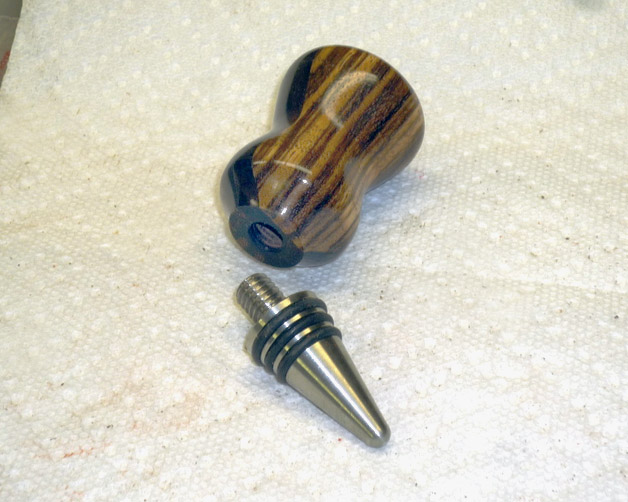
Bottle StoppersFirst bottle stopper made as a gift 2/7/10 African Paduak wood (also called vermillion), wire burned lines, Behlens woodturners finish. Used the MT2 mandrel from Ruth Niles on the Nova DVR XP lathe. Click on the small photos for larger images.
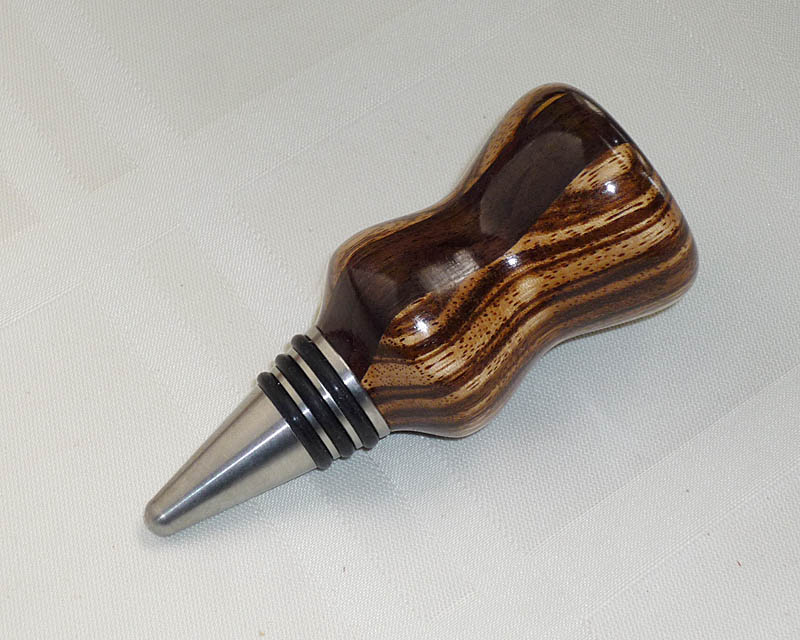
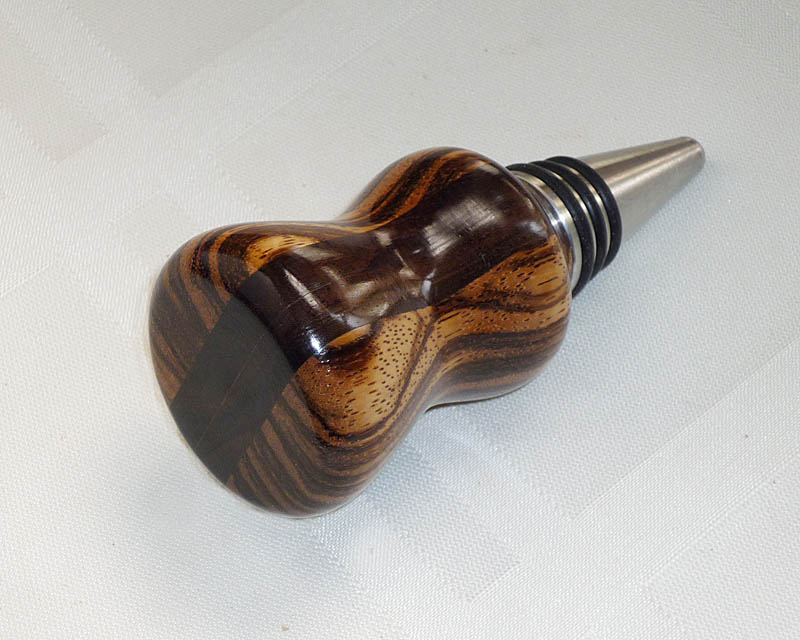
The next one was made the same day from some glued-up scraps of zebrawood and walnut left over from the oval boxes build. I These stoppers are a great way to make use of cut-offs and other small pieces of wood. That is, unless Lauren grabs them for pendant and other jewelry projects. This next photo shows some bottle stoppers in redheart and zebrawood.
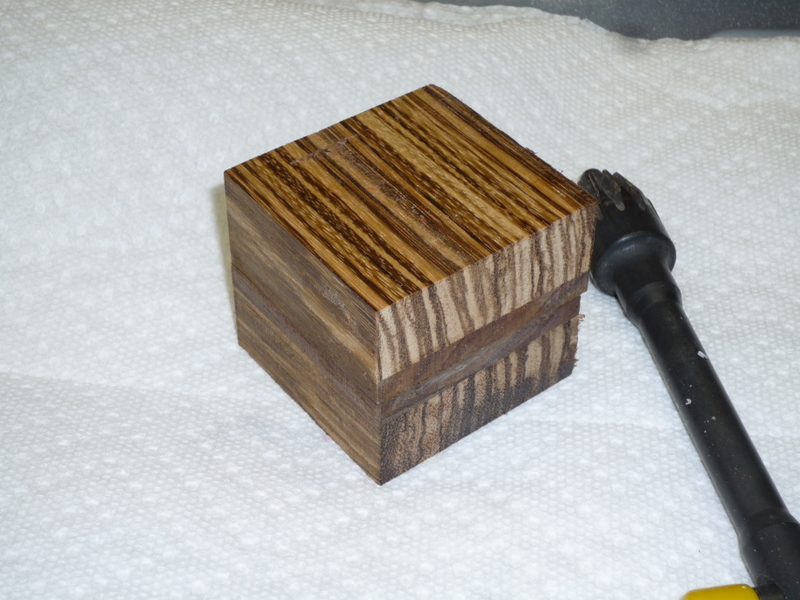
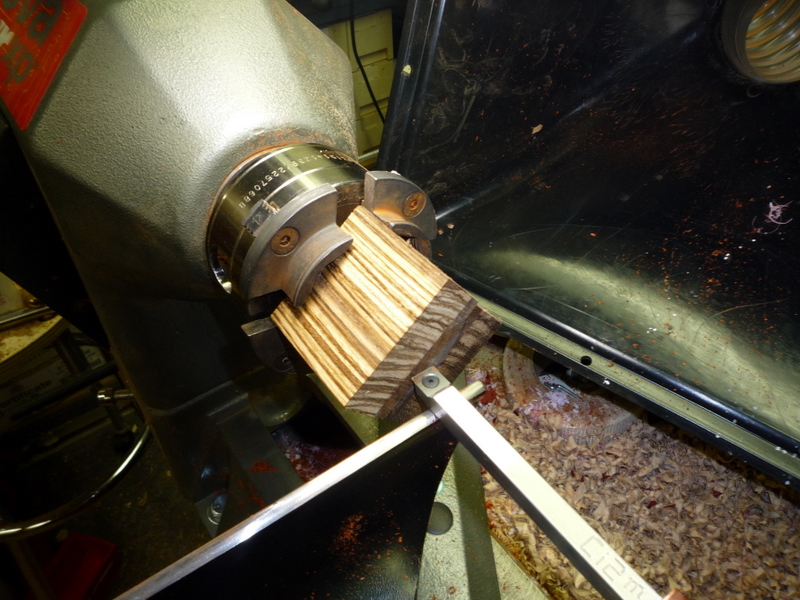
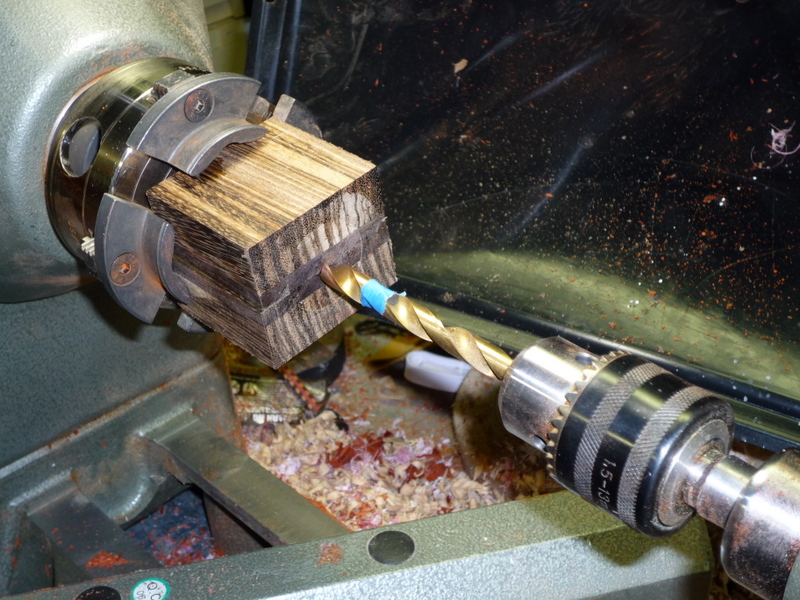
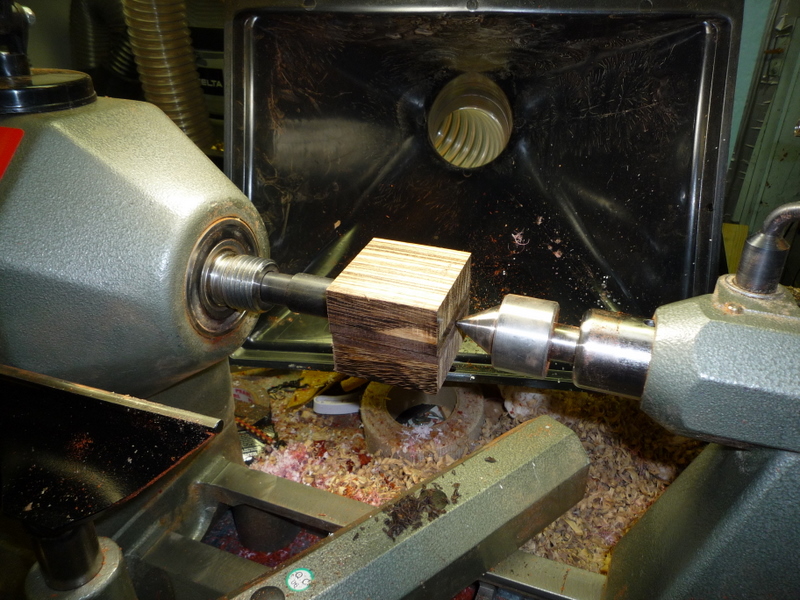
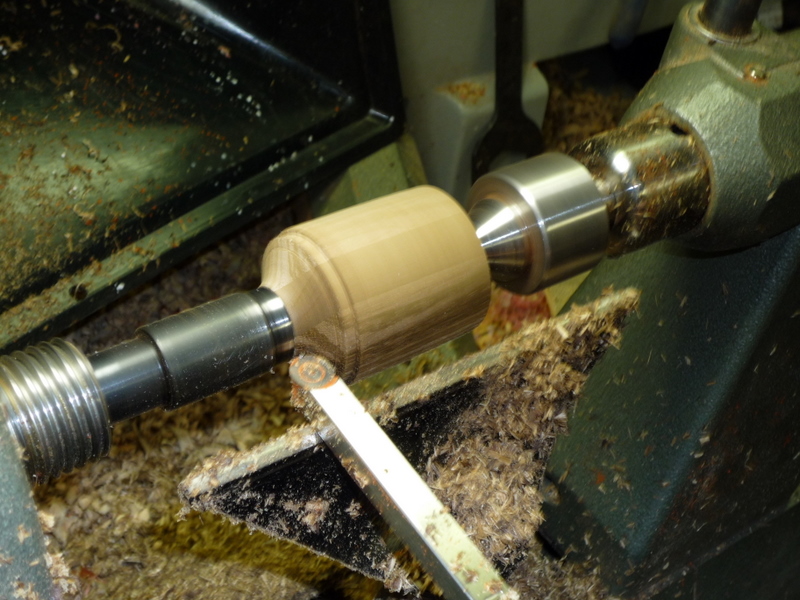
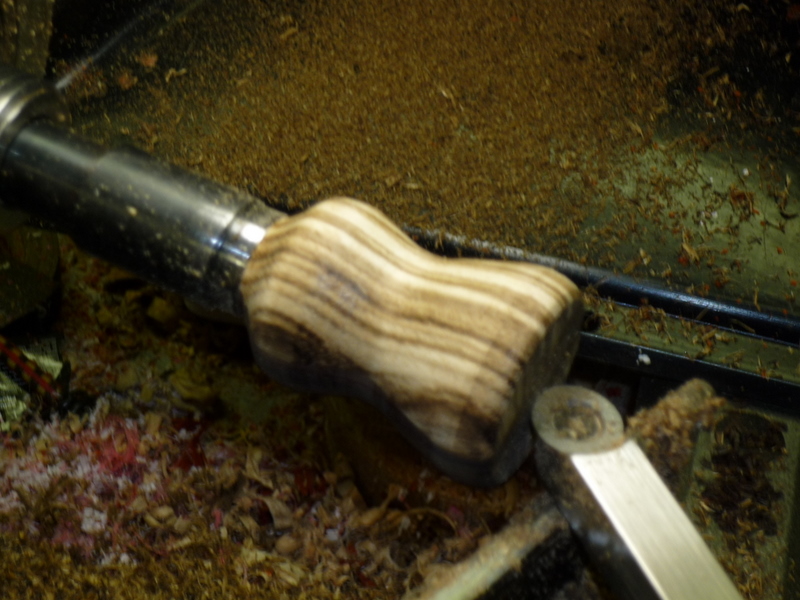
Here are some photos showing the making of the second bottle stopper. I was using this build as a way to try out different chisels, so it was more an experiment, no particular shape or plan in mind. Start with glued up zebrawood and walnut. Mount in a chuck and use the live tailstock to help center the wood so drilling will be in the middle of the walnut strip. Then square up the end of the blank. I've been playing with some new EasyRougher and EasyFinisher carbide tools, and this was an excuse to use them instead of gouges and skews.
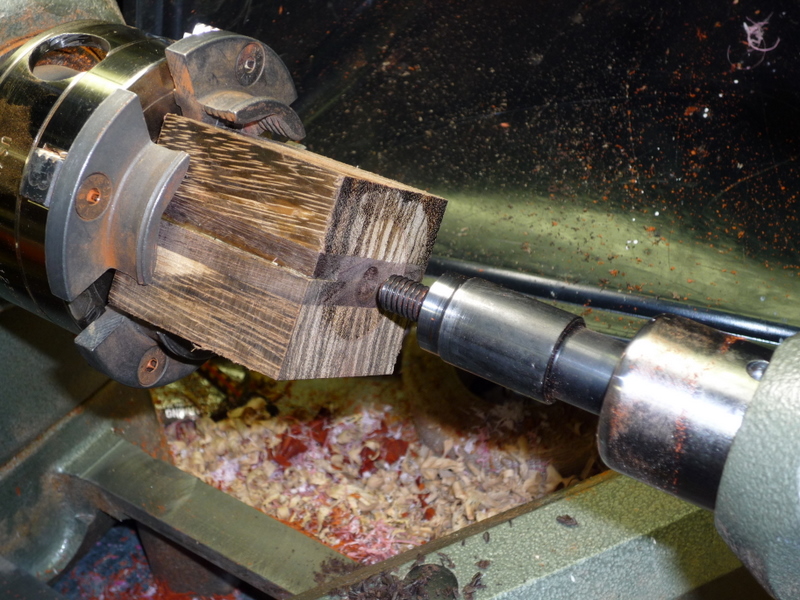
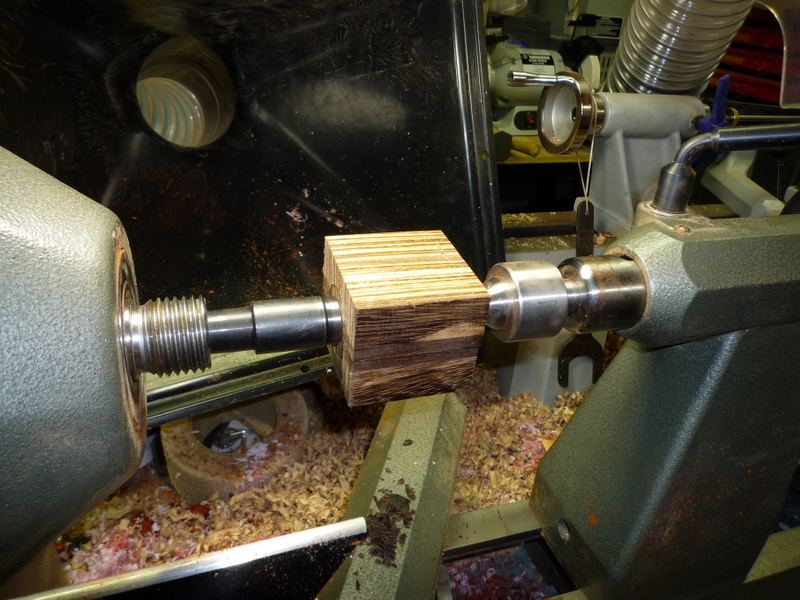
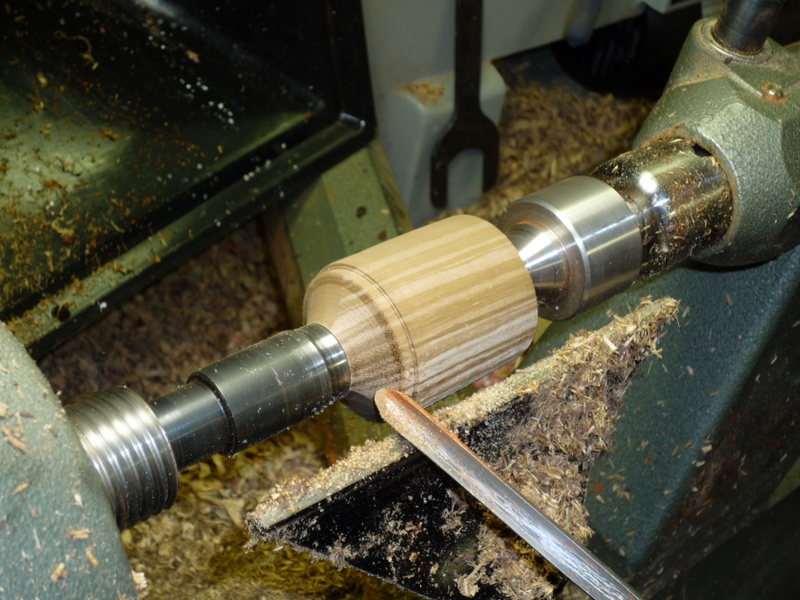
Mount a jacobs chuck in the tailstock and drill a 23/64" hole. The blue tape marks the stop depth. Then remove the chuck and mount the MT2 bottle stopper mandrel in the tailstock. Then thread the mandrel into the wood by turning the headstock spindle wheel by hand, advancing the tailstock wheel at the same time. The threads on the mandrel have a slot cut into them, so the thread is self tapping. Mounting the mandrel in the tailstock assures a straight insertion.
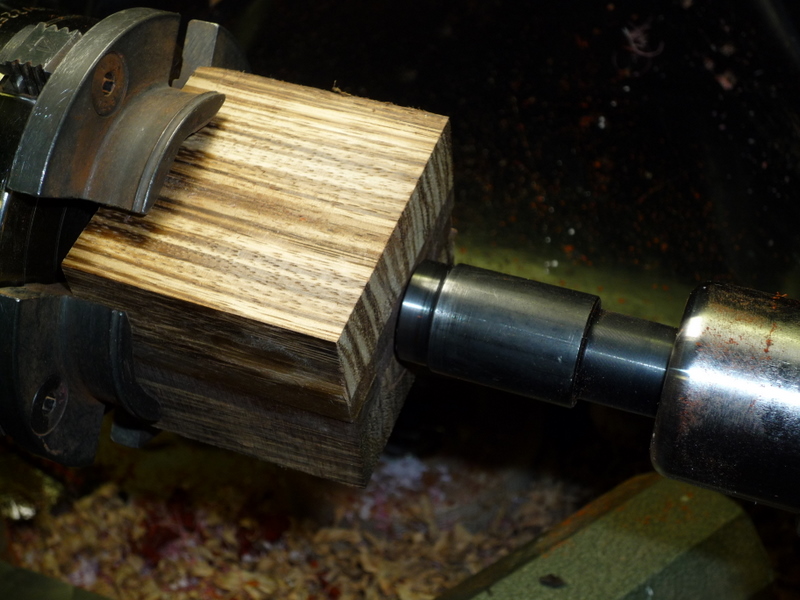
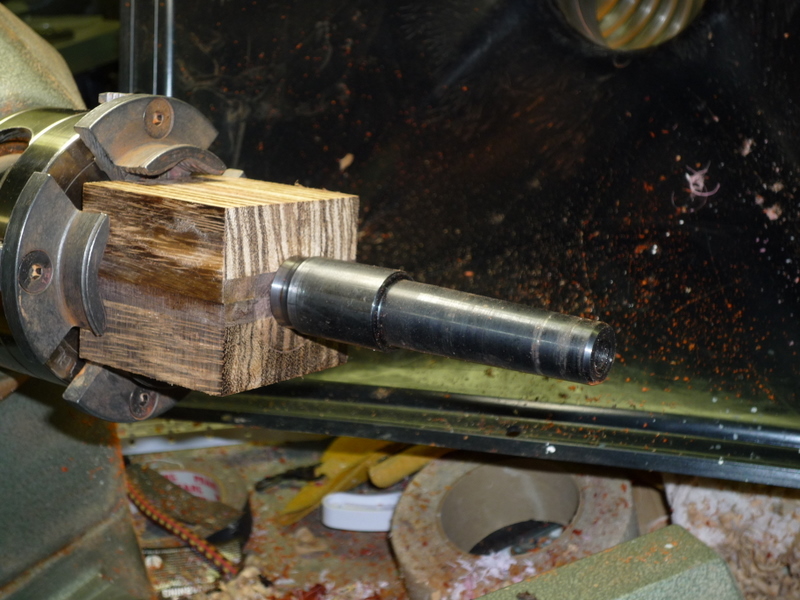
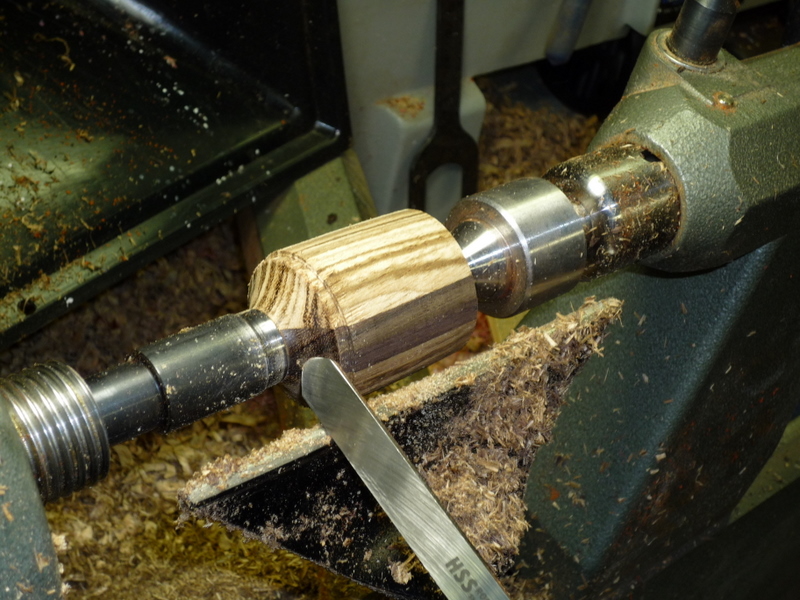
Unmount the chuck and mount the mandrel into the headstock. Bring up a live center in the tailstock to give additional support during roughing. I was playing with four of the Easy Wood tools carbide chisels, with both square and round cutters. I used both full size and mini versions of the tools. I also used a spindle gouge, and a Sorby Spindlemaster... just playing around seeing how the different chisels cut and how the wood looked after each tool.
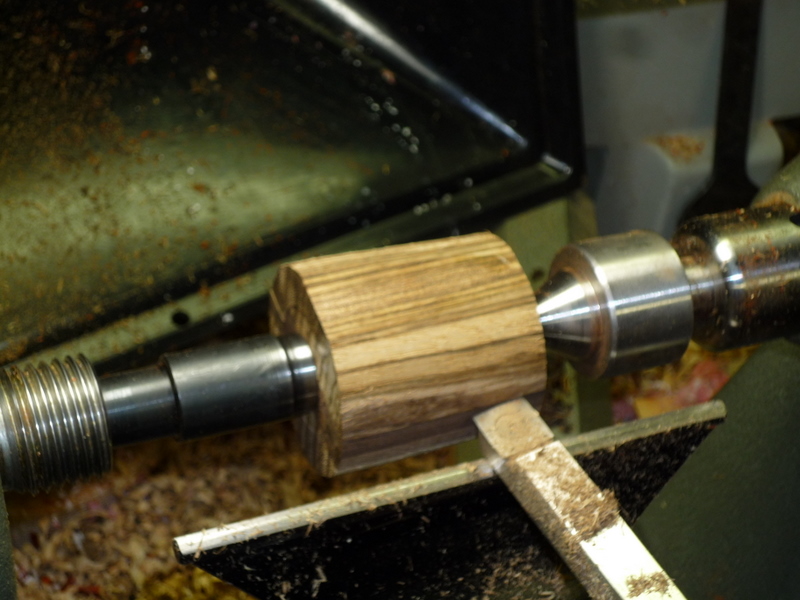
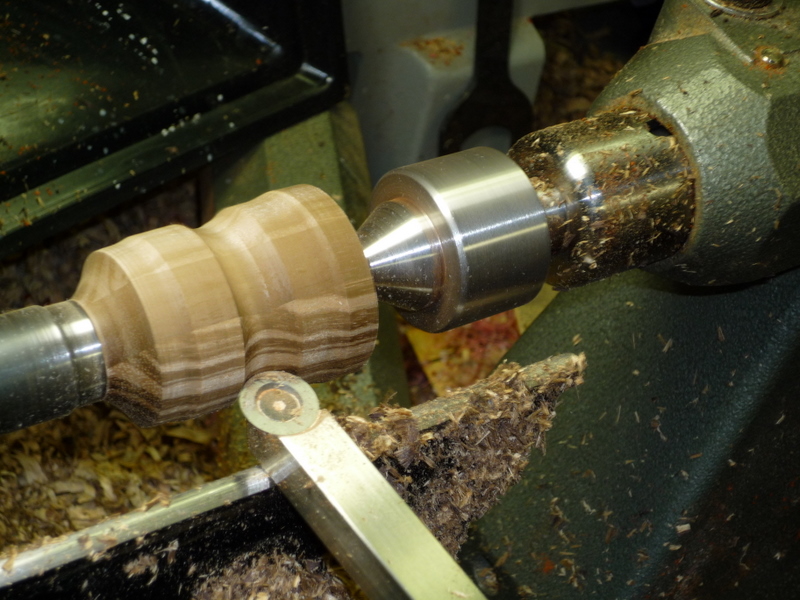
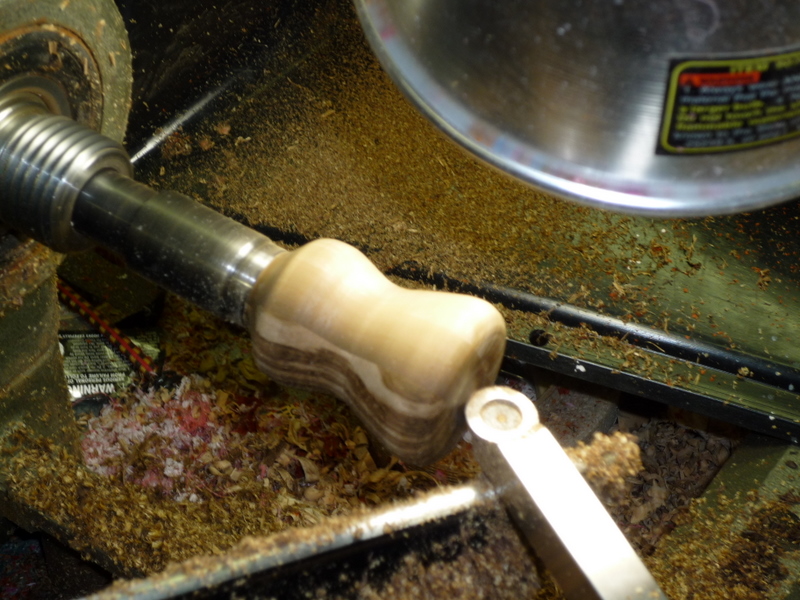
When the profile was done, it was time to remove the tailstock and shape the top of the piece.
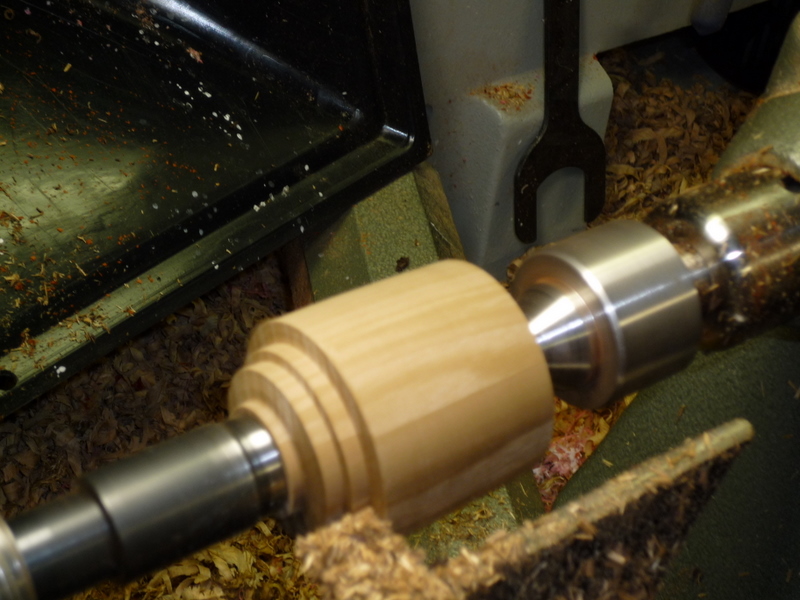
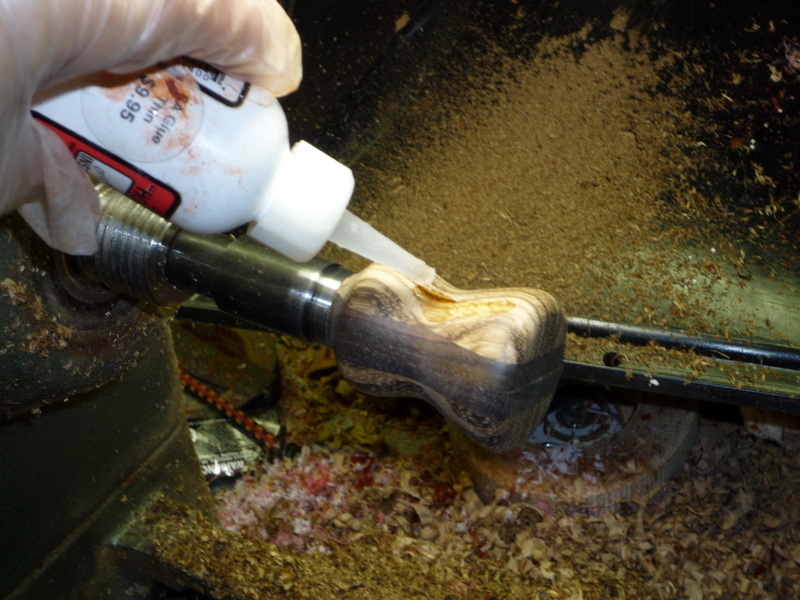
Now start the sanding. Worked my way from 150 to 800 grit. Because the zebrawood had such an open grain, I decided to wet sand at 180 grit with some CA (cyanoacrylate) glue. While wearing vinyl gloves, sanding with the CA/wood-dust slurry did a pretty good job of filling the grain. A quick shot of CA accelerator hardened the glue, allowing me to continue the dry sanding process.
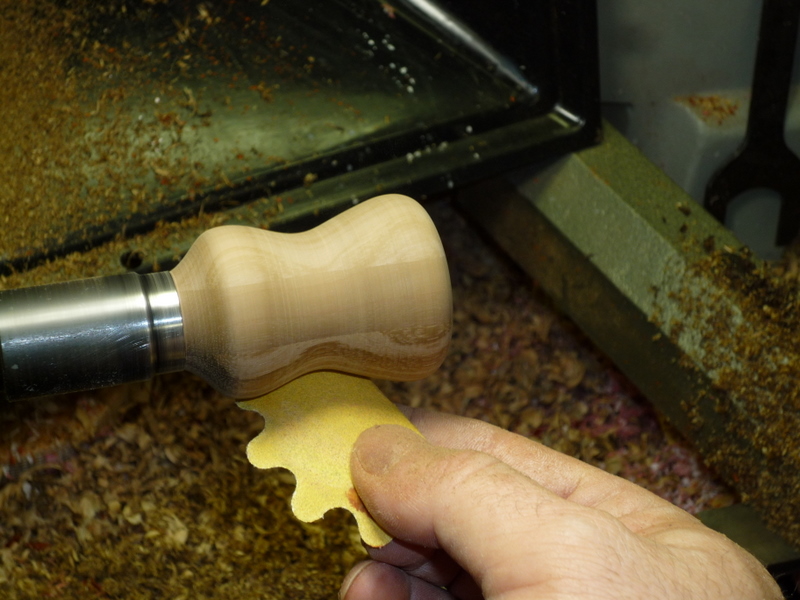
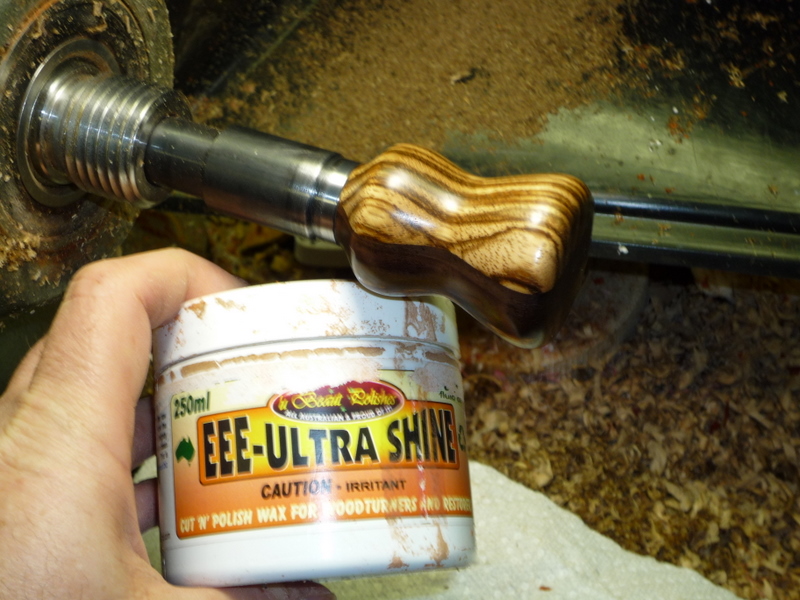
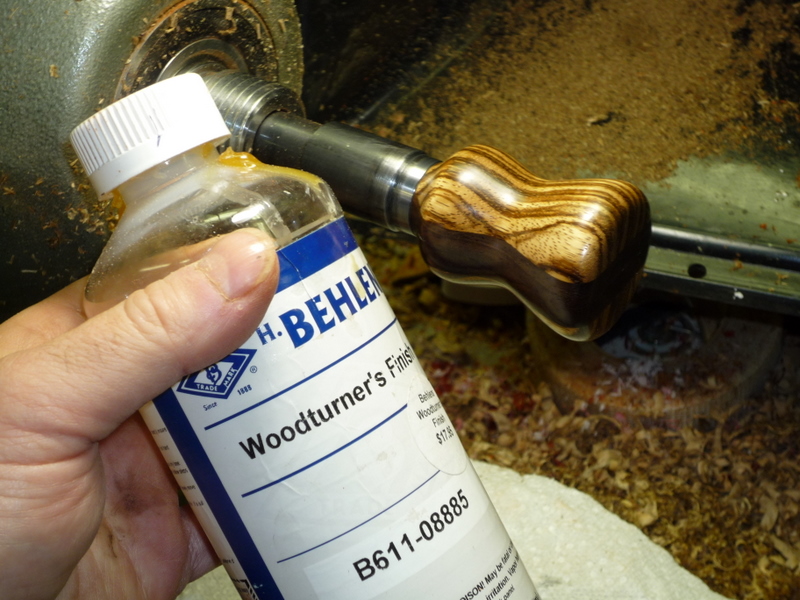
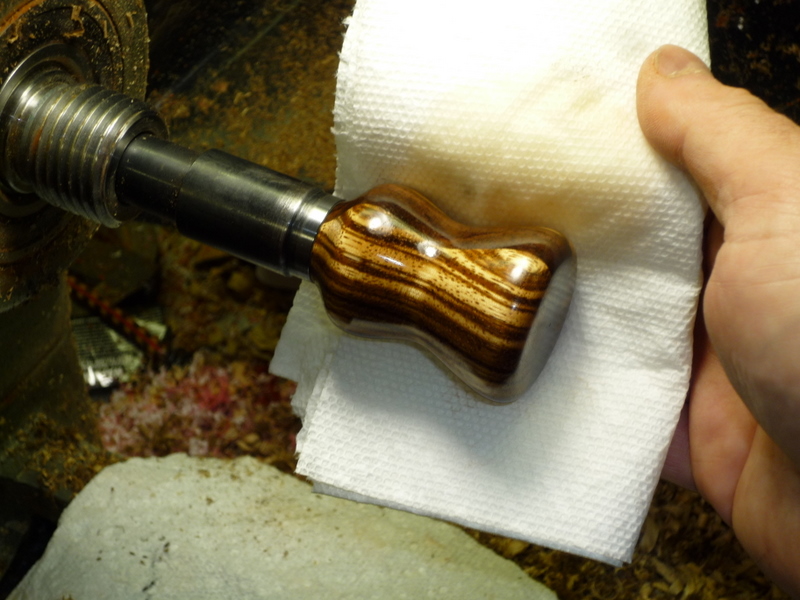
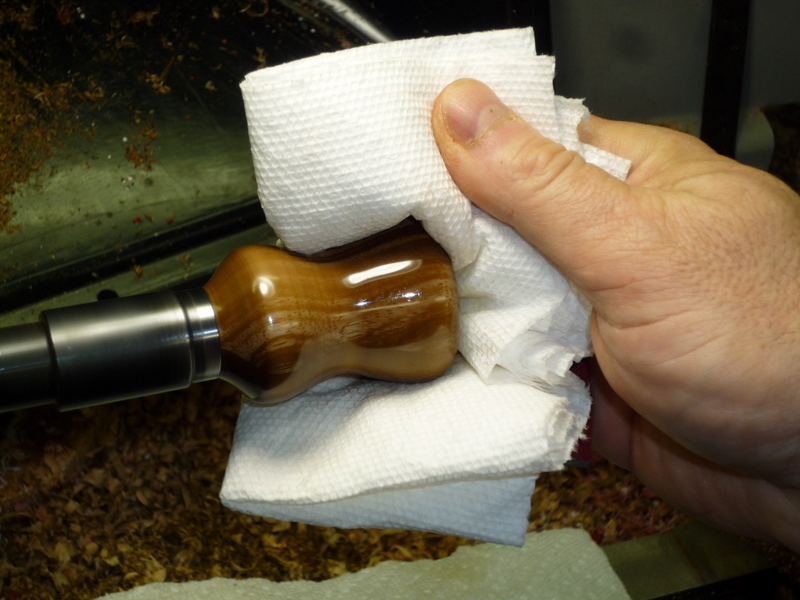
Next I applied an application of EEE Ultrashine polish and ran the lathe, burnishing with a paper towel. Then I applied some Behlens Woodturners finish, a friction polish, and ran the lathe until the polish was very hot (this burns off the oils)
Finally, add a few drops of TiteBond III wood glue to the threaded hole and assemble the top to the stainless steel stopper bottom. Enjoy! |
|
All text and photographs copyright © 1999 - 2017 Zenreich Systems. All rights reserved. |