![]()
![]()
![]()
![]()
![]()
![]()
![]()
![]()
![]()
![]()
|
|
|
|
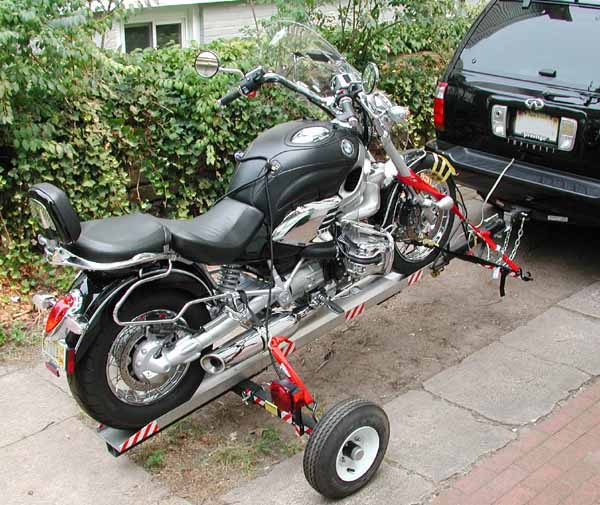
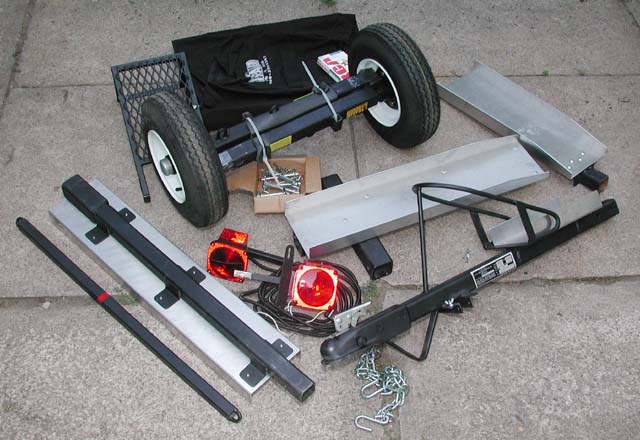
Trailer In a BagSometimes it's a good idea to trailer a bike to a destination. If the weather looks threatening, or if I'm traveling with family, I thought that being able to tow the bike to an event would be easier on all concerned. The BMWMOA 2002 National rally, held in Trenton Ontario is about 450 miles from my home. So rather than subject Lauren to a long bike ride, we decided to give trailering a try. The largest problem is that I really don't have any place to keep a trailer, and the rental trailers I found were less than encouraging. So... I found a very interesting solution online... Trailer In a Bag.
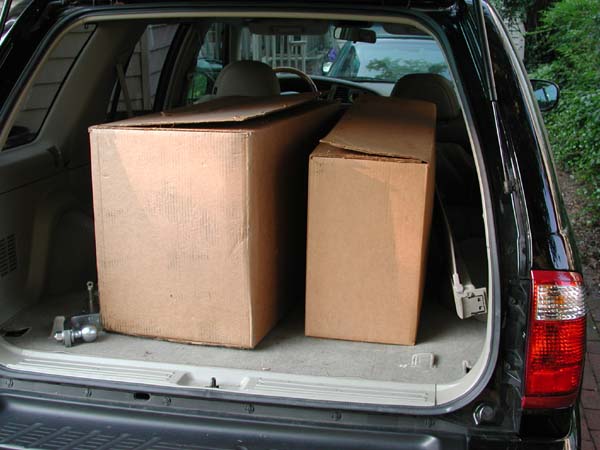
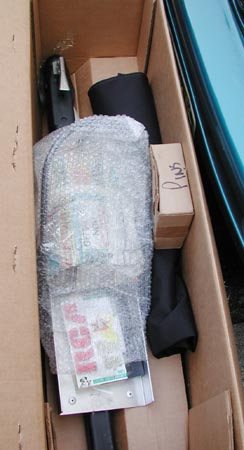
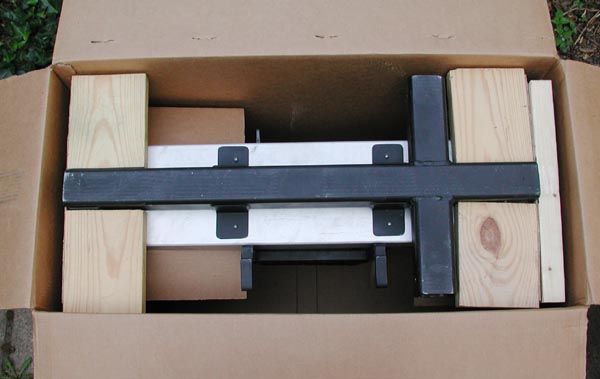
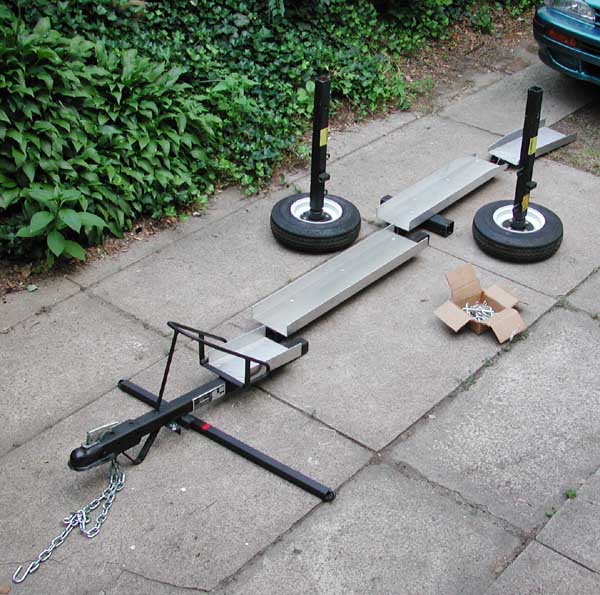
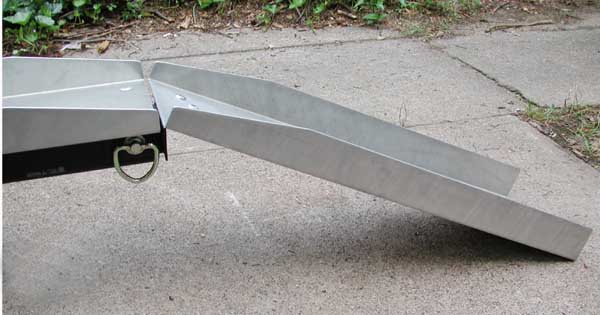
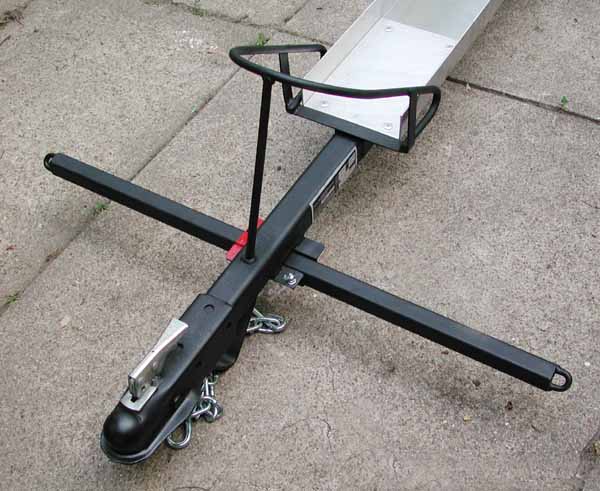
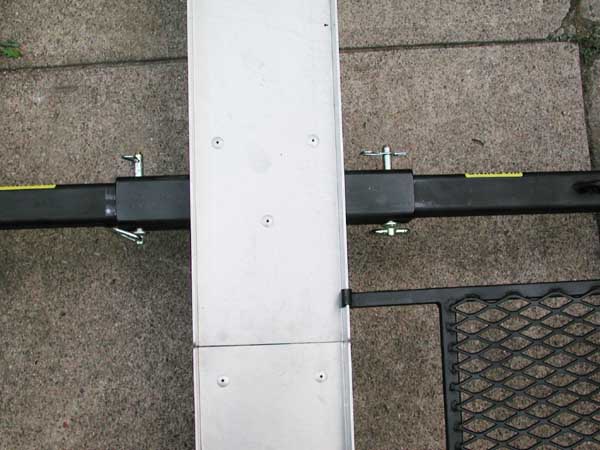
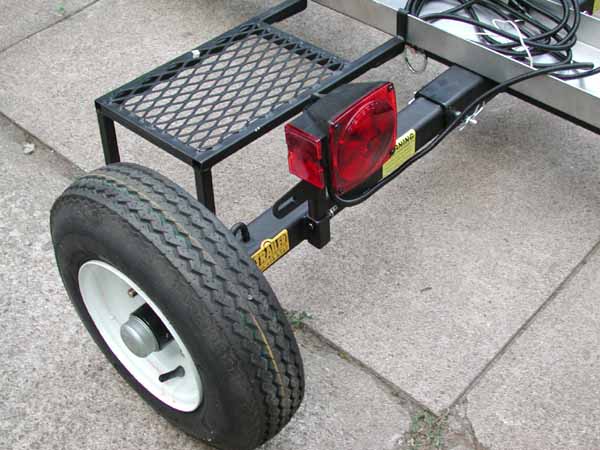
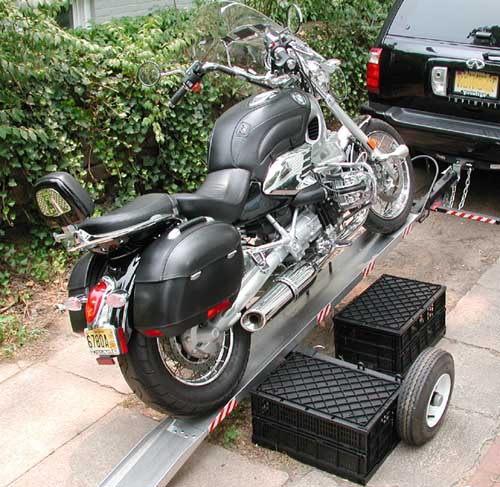
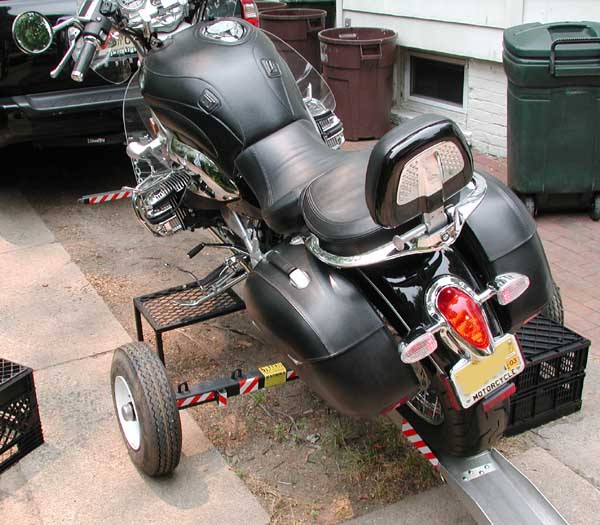
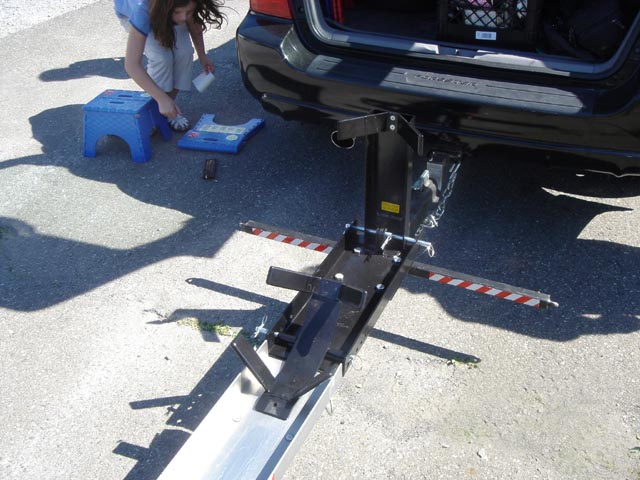
This trailer disassembles and stores in a duffle bag! The photos below show first unpacking and assembly of the trailer. It comes in two boxes. I added the accessory side stand support.
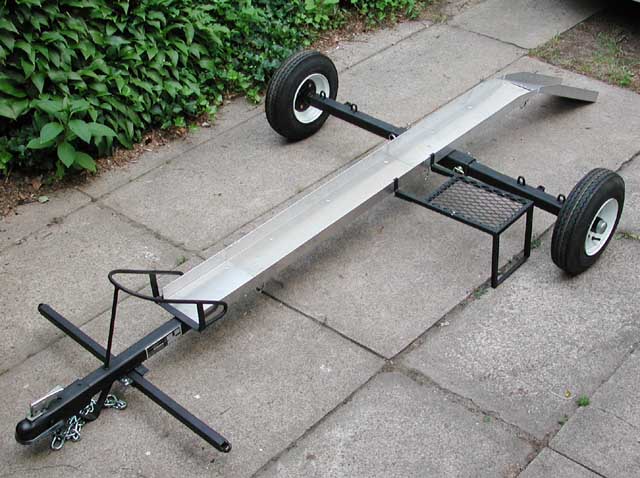
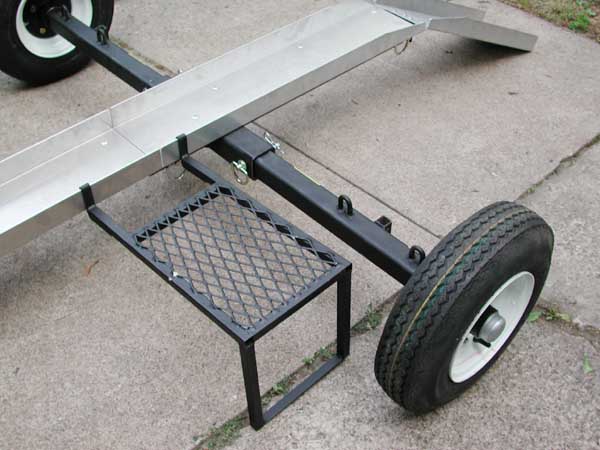
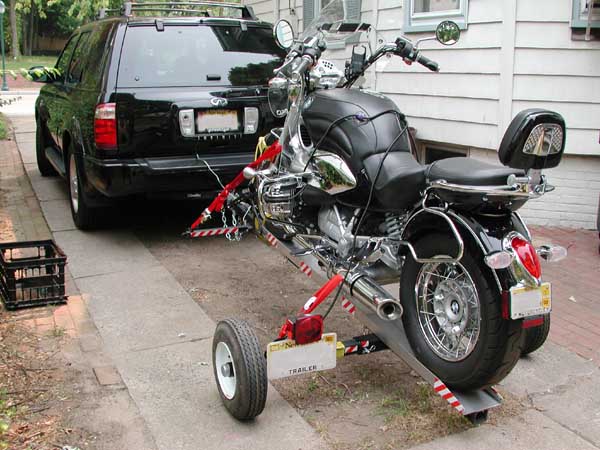
The dealer filled out the trailer registration information and title, and I registered it here in NJ. I added some reflective tape for more visibility, especially at night. I also added some non-slip tape to the ramp and end of the main rail, to give a little extra traction when mounting and dismounting. I'm using a couple of folding black plastic crates for a little extra footing until I'm more practiced at loading the bike onto the rail. I'd also like to add the accessory fenders, but they would not be ready in time for the Trenton trip. The manufacturer wants the ball mount to be 12" to 14" from the ground, but currently my hitch puts the ball 16" from the ground. This is ok, but causes the trailer to lean back a bit. I have a special drop hitch on order (mine is a class 2 hitch, and accessories are hard to come by), that should bring the ball to the preferred height. Click on the small photos for larger images. I'll add photos of the trailer in use as I make new images.
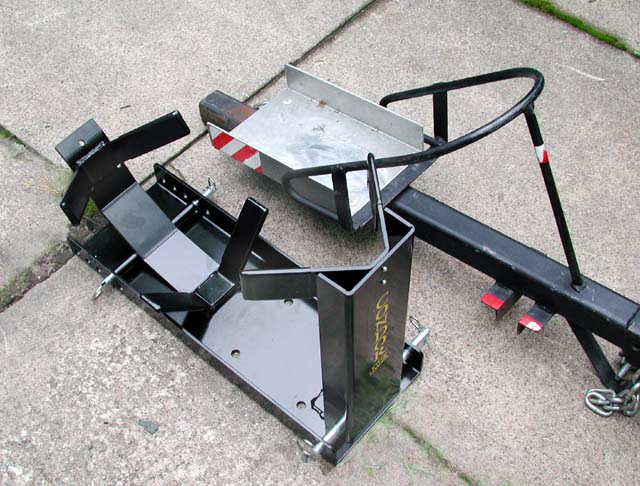
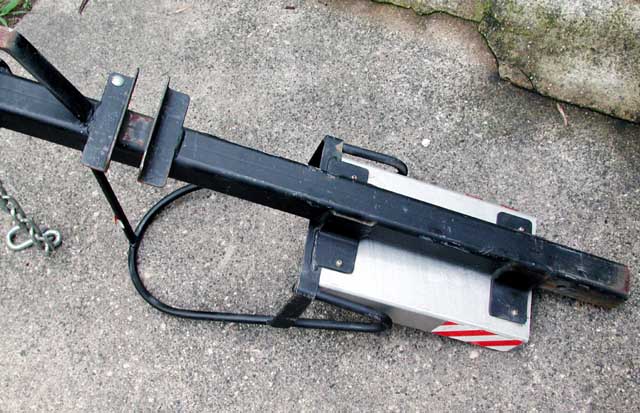
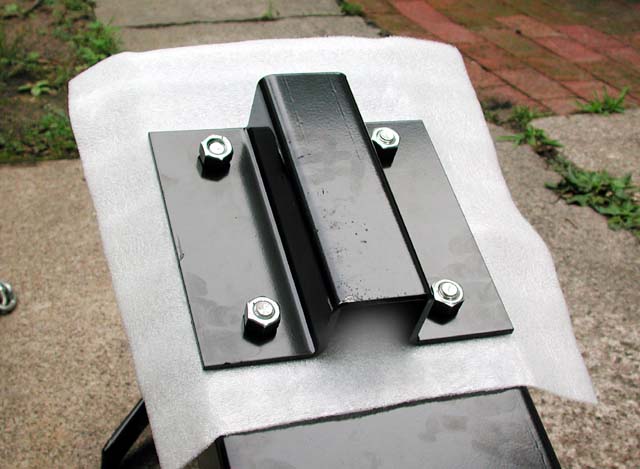
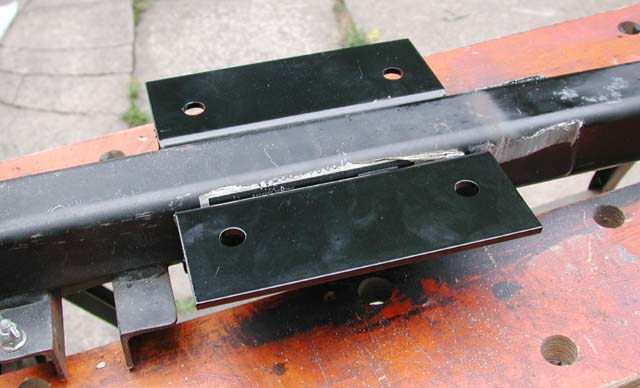
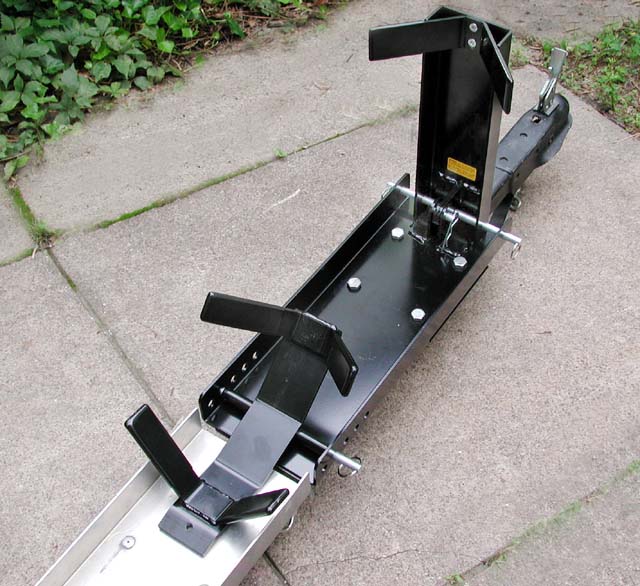
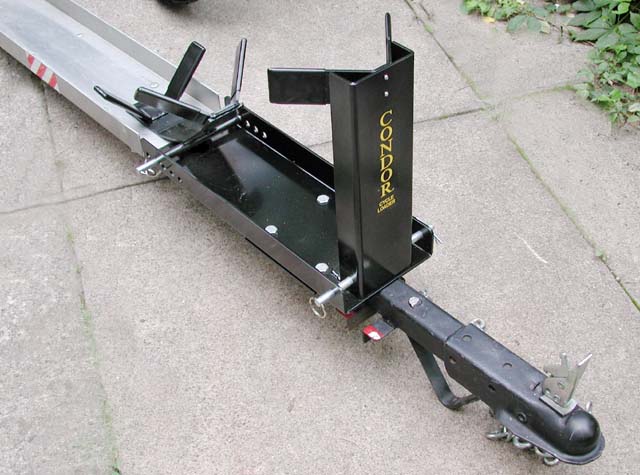
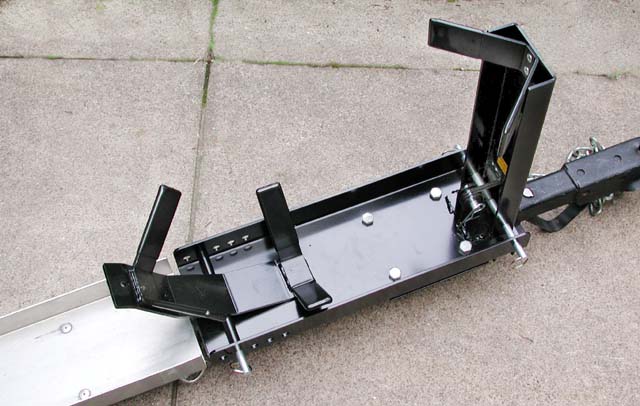
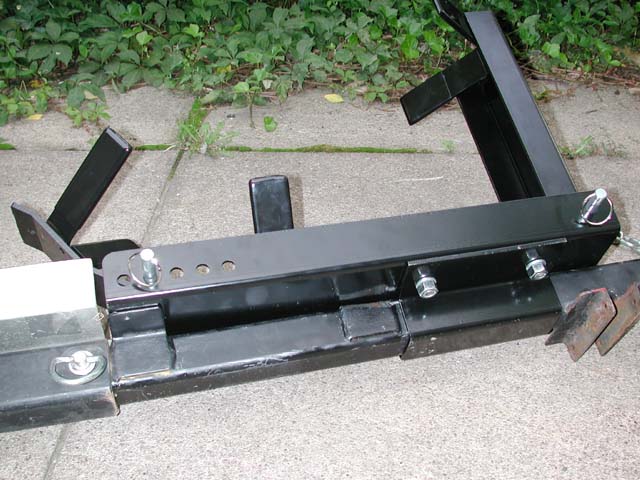
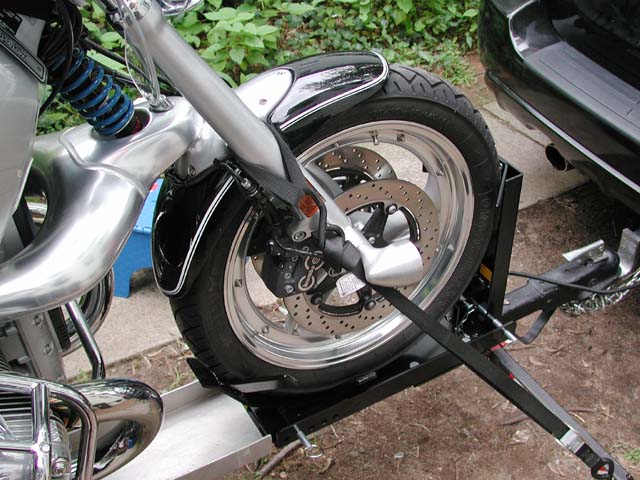
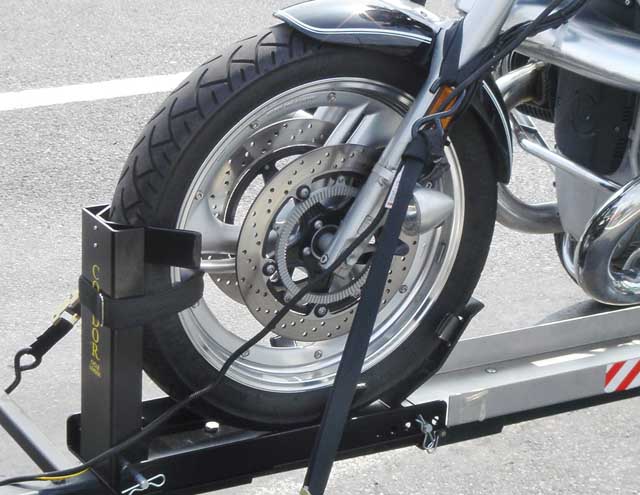
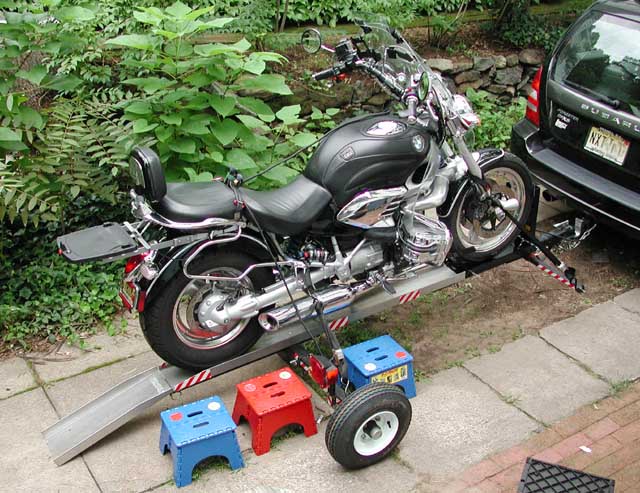
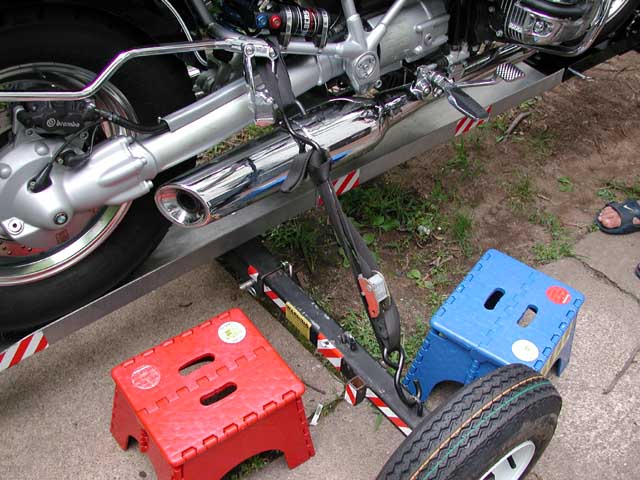
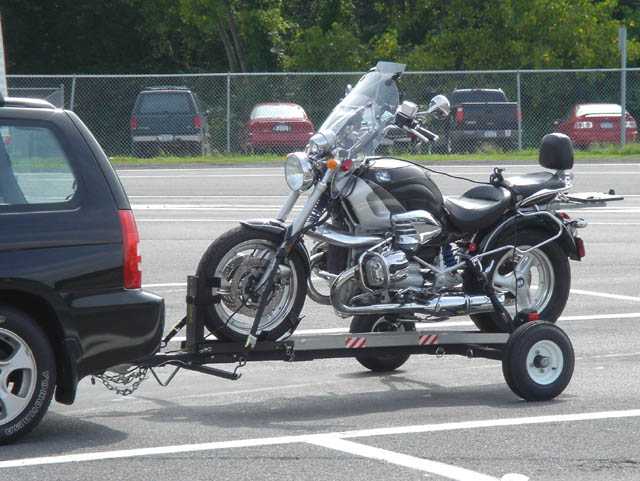
Condor-Lift modificationAdditional notes, August 2004 I've had the Trailer-In-A-Bag (TIB) shown in the photos above for a couple of years now, and it's performed very well. I used it on a few long trips, and loaned it out to friends who have trailered bikes varying from a Ducati to a Honda Goldwing without incident. One thing I thought I'd like to improve on the TIB is the way the front wheel rests on the trailer. The stock configuration has the wheel bump up against the curved wheel stop (the "nose") on the TIB's first section. This is fine, and when you ride the bike up onto the rail, I hit the stop and put down the sidestand while in gear (which turns off the engine). With the bike tilted on the stand, I climb off, then proceed to strap the bike down. The TIB looked like a good candidate for a wheel chock solution. I searched around for something I could modify, and came across Condor-Lift at a NYC motorcycle show. I spoke with Teffy at the show and explained that if I bought some parts from his "PitStop" product, I could likely retrofit it to my TIB. At the time, he was not familiar with the TIB, but he was intrigued. While I was waiting for my parts, Teffy met with the TIB manufacturers and explained what I was trying to do, and Teffy took it on as more of a formal project. Teffy showed me some sketches, and I made some suggestions (including having the "nose" fold down for storage) Instead of using the aluminum PitStop as a foundation, Teffy modified their steel Cycle-Towing Loader product. The result is very nicely made, weighs about 31 lbs. The nose folds down, or can be removed completely. The wheel chock can be removed, and can be repositioned to accommodate different wheel diameters. I had to cut off the old nose with a reciprocating saw, and remove the small section of aluminum rail from the first section of the TIB . I then slipped the mounting plate under the square rail, and bolted the entire assembly onto the rail. The results are quite good. When the bike rolls over the chock, the chock pivots forward, trapping the wheel quite securely in the new "nose", leaving the bike upright, making it much easier to tie down. I got some small foldable step-stools, so I can get some better footing for both loading and unloading the bike. These stools very flat, can take 300 lbs each, and are easy to position where my feet will land while riding the bike up the ramp. The stools replace the folding crates I used previously. With the chock in the current position, it takes someone to nudge the wheel out of the chock when unloading the bike. Either a push on the bike from the front, or a tug from the rear, gently rocks the wheel out of the chock... very smooth operation. Teffy said that if I wanted to have less resistance when unloading, that I can move the pivot point of the chock forward one position, but I didn't find this necessary. Loading the trailer with the new Condor chock was very easy, it loads securely and there is no need to put the kickstand down to get off the bike (and consequently it's easier to tie the bike down because it starts off upright). Condor supplies a very nice wide velcro strap to further secure the front wheel to the chock-stop. I did make a couple of other changes from the first look at the trailer. I replaced the original trailer wheels/tires with new ones (The TIB folk were most accommodating and shipped them directly to me). It seems that the originals were slightly out of round, causing some vibration at higher speeds that was tough to track down. The new wheels/tires worked flawlessly... no vibration at all at any speed. The old wheels/tires are kept around as spare tires. The other change is that we downsized our towing vehicle from an Infiniti QX4 to a more fuel frugal Subaru Forrester, which is very well suited to the task. We used the new trailer configuration for the first time on a trip to Canada, (800 miles each way), and I could not be more pleased with the performance of the rig. When we got to our tour starting point, we disassembled the trailer and stashed it in the back of the car while we toured on the bike for a week. After the tour, we reassembled the rig and drove 800 miles back home in one day (with both Lauren and I taking turns at the wheel.) The photos below show the retrofitting process and the bike loaded for our first trip. Click on the small photos for larger versions.
More notes January 2008I've had a Trailer-In-A-Bag (TIB) for over 5 years now. It's a great tool. I bought it originally to take Lauren to the 2002 BMWMOA rally in Trenton Canada (her first rally). We've subsequently used it to get to the Gaspe Peninisula (800 miles from home) where we rode for a week, and trailered the bike back home. In August 2006, my bike's transmission failed on my way down near the top of Perkins Memorial Drive in Bear Mountain (about 50 miles from home). Fortunately I was able to coast all the way down the hill to the gate area near Seven Lakes Drive. Here's where all the toys/technologies worked together.
This was a great use of all the toys. No calling a tow truck (though I did have towing insurance) to the top of a mountain. Think about how this would have gone down only 10 years ago... cell phones not the norm, hitching to the nearest phone, hoping to find a ride back, hoping the bike and contents were still there, waiting for a tow.... yeccch. I've used the trailer on several long trips to rallies, with Lauren and/or the rest of the family traveling with me. Four years ago, when driving at night through a horrible torrential rain storm on the way to the BMW National rally in West Virginia , Lauren said something to me. I smiled and said "How would that be as a commercial":
I sometimes get grief when I show up trailering the bike (we do so really only when the start point of the rally is more than 300 miles away). But it does allow Lauren to enjoy the journey as well as riding during the rallies (an air-conditioned car is a fine thing in August while waiting in line to cross the NY/Canada border). For those "real" motorcyclists at events who have an attitude about trailers, all I say to them is: "You can mock all you want, but you're sleeping alone in a tent tonight, and I have a warm woman in a hotel room" Priceless. |
|
All text and photographs copyright © 1999 - 2017 Zenreich Systems. All rights reserved. |