Kermit Camping Chairs
After knowing about these remarkable chairs for some time, I finally ordered a pair by calling the phone number found on the Kermit Chairs web site.
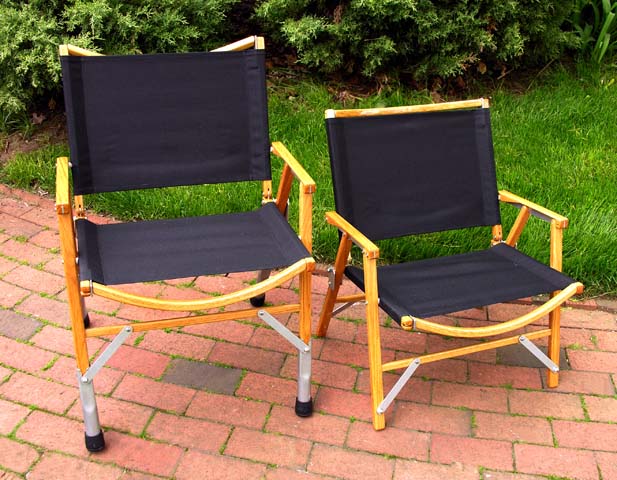
Although we typically don't camp, we do spend time at motorcycle rally camp sites and other events where having comfortable, sturdy, lightweight chairs will serve us well.
The fit and finish on these chairs are first rate. The frames are made from hardwoods and aluminum with stainless steel hardware. The wood parts have been dipped in marine grade polyurethane, making for a durable finish. The cloth is 1000 denier nylon.
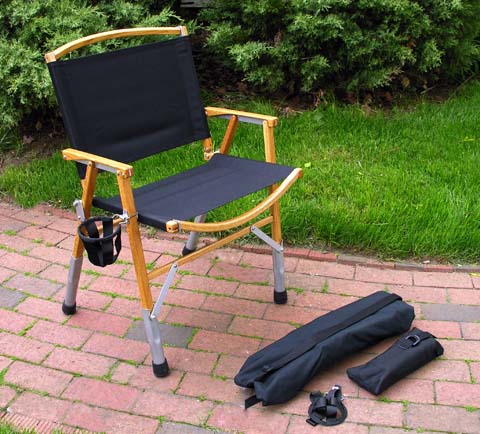
Each chair packs into a bag 22" x 4" x 6".
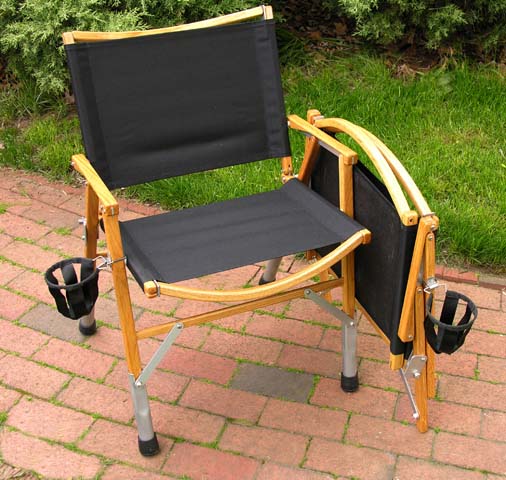
The chairs assemble in about a minute, no tools necessary at all.
Once assembled, the chairs fold simply. Click on small photos for larger images.
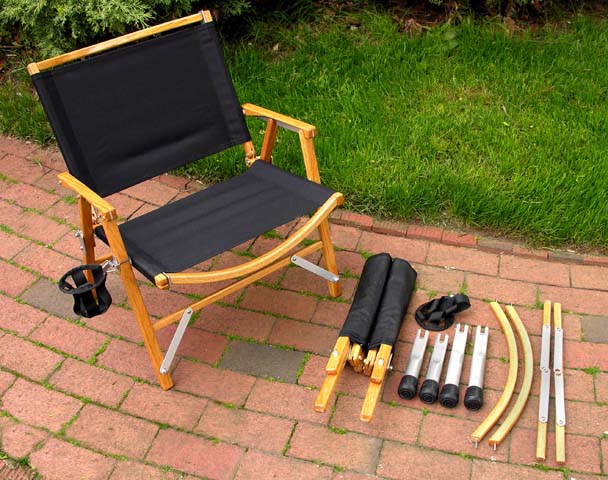
Here are photos of the Kermit Chair assembly
 |
Chairs weigh 5 lbs each, and come in a carry bag (with carry strap). The optional leg extensions have their own bag.
|
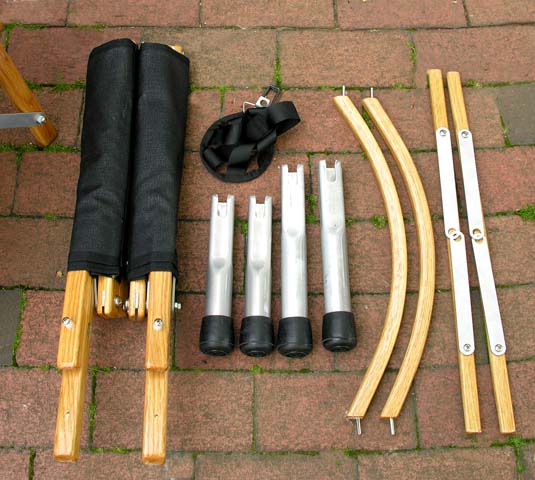 |
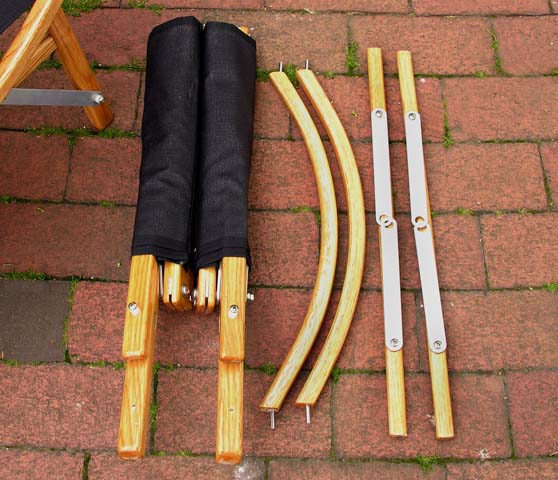
Here are the parts from inside the bag(s):
|
 |
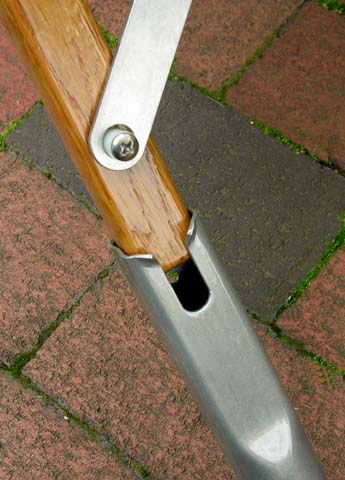
To assemble, unroll the side frames and insert the leg braces into the holes in the legs. Slide the holes in the metal brace over the studs, locking the brace into place. |
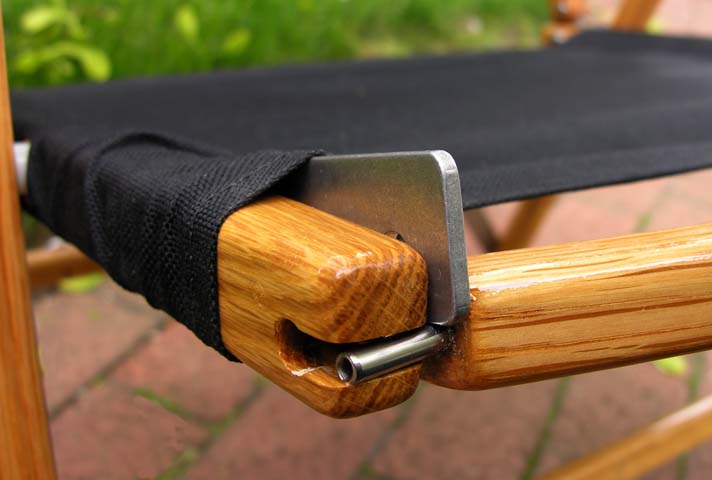 |
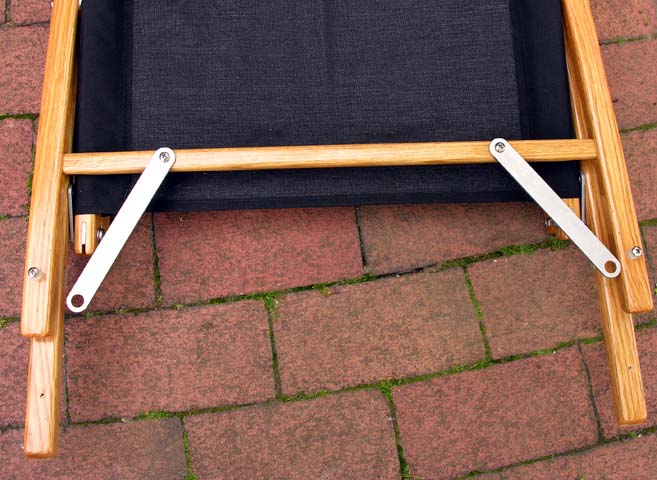
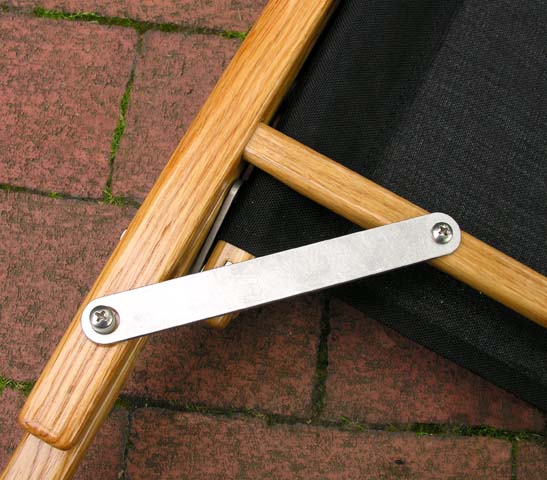
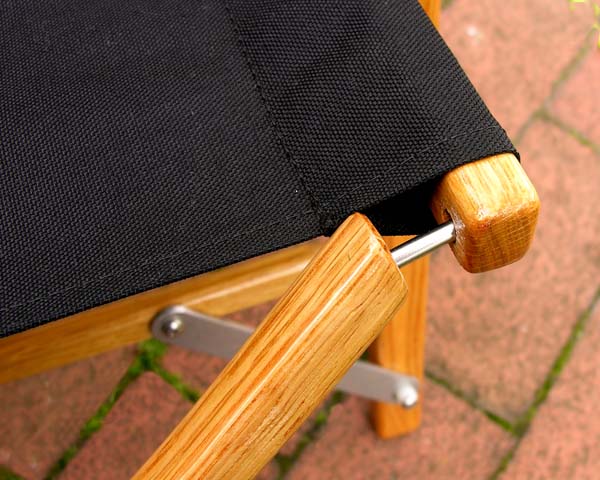
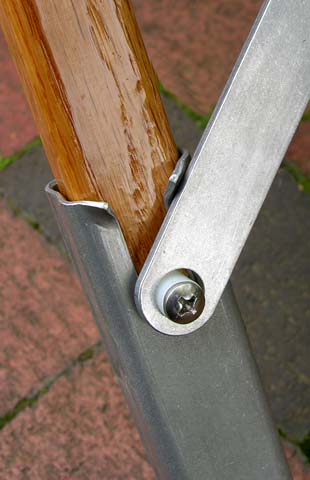
Insert the pin on one end of a curved brace into the hole in the seat rail. Lift the metal release tab on the other seat rail and slide the pin on the other end of the curved brace into the slot in the chair rail. When the chair is brand new, the fabric is very tight making this a very close fit. |
 |
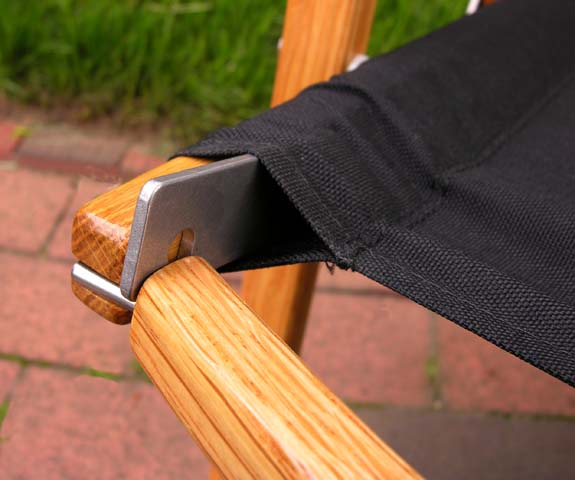
Lower the release tab, locking the pin into position. |
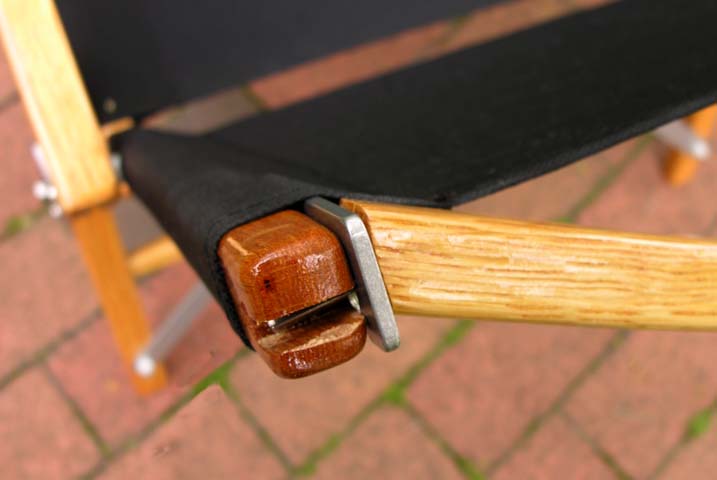 |
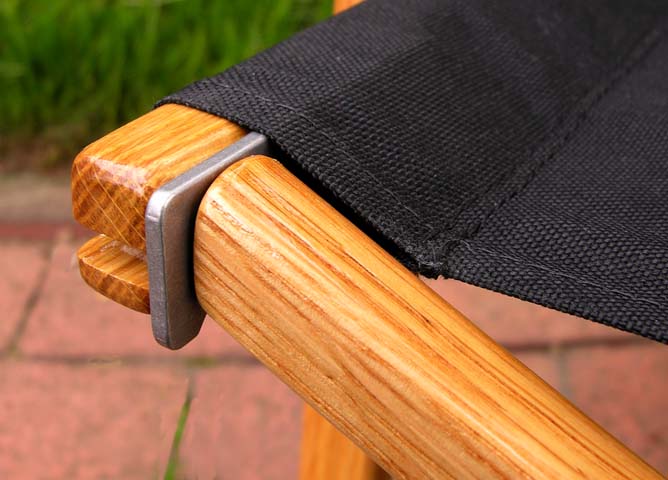
Install the curved brace for the top of the seat back using the same procedure. You're done with the basic chair assembly. |
 |
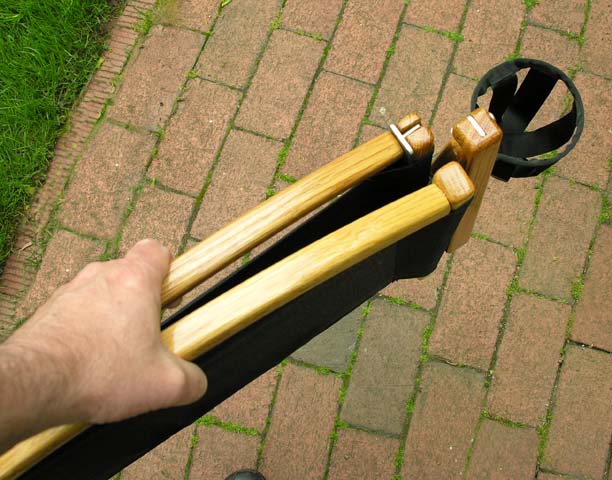
If you have the leg extensions, slide them onto the legs, lifting the metal brace slightly so the extensions go behind the brace. Then it all locks neatly into place. The shorter pair of extensions goes on the front legs/ |
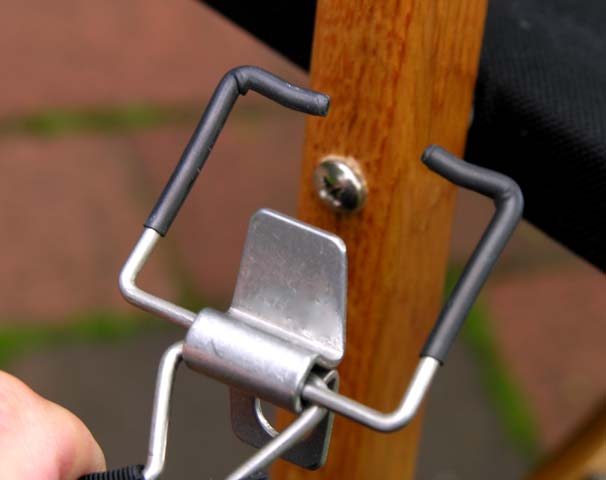 |
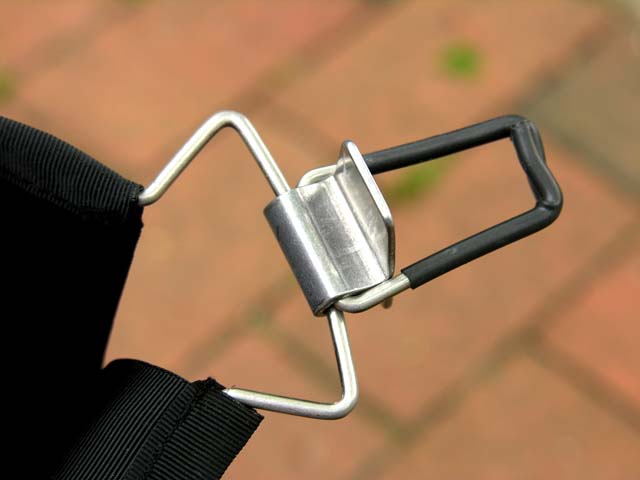
The cup holder design is brilliant in its simplicity. You squeeze the wire frame together and slip it over the chair leg, just above the seat. |
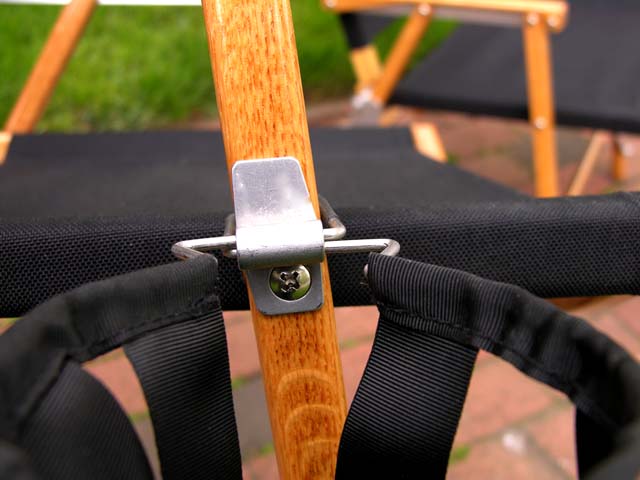
 |
A hole in the bracket neatly slips over one of the frame
screws, which supports the entire assembly. The entire cup holder
installation takes about 3 seconds. Note that since making these photos, Tom of KermitChair.com has mentioned that the proper installation of the cup holder has the hole in the bracket placed on the top, not the bottom (as I have in these photos). I'll make new photographs soon with the correct orientation. A nice touch is that the cupholder stays upright, so you can leave a drink in it when you move the chair from place to place. |
If you have comments, please visit the Guestbook.
Copyright © 2005 by Zenreich Systems. All
rights reserved.
Revised:
December 13, 2017