![]()
![]()
![]()
![]()
|
|
|
|
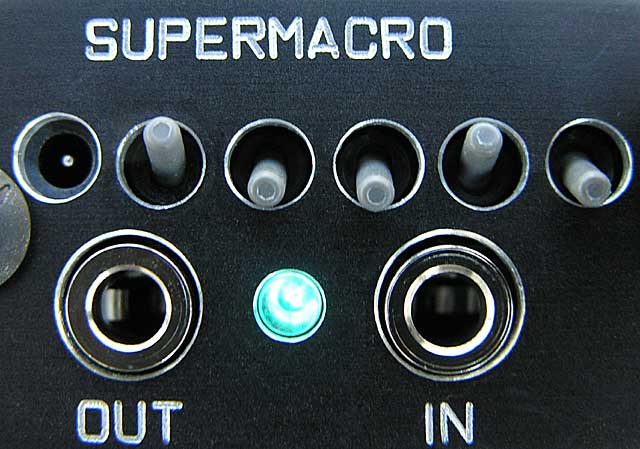
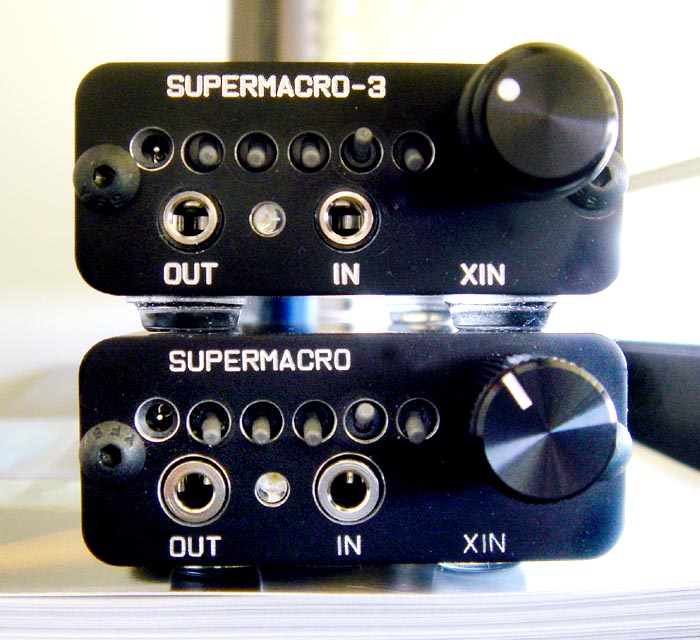
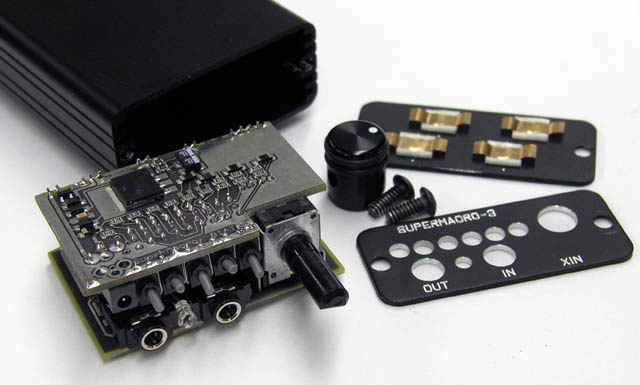
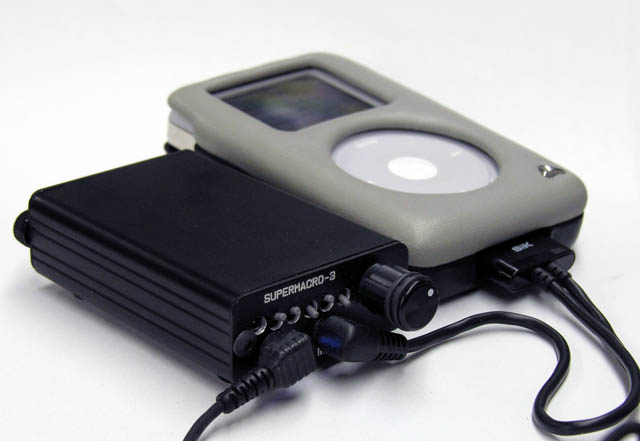
Music to go, or stay at home!A headphone amplifier goes a long way towards bringing out the best sound from a good set of headphones. The amps I'm using at home is a Xin SuperMacro 3 from www.fixup.net . I'm using a Xin SuperMicro 3 for ultra portable use.
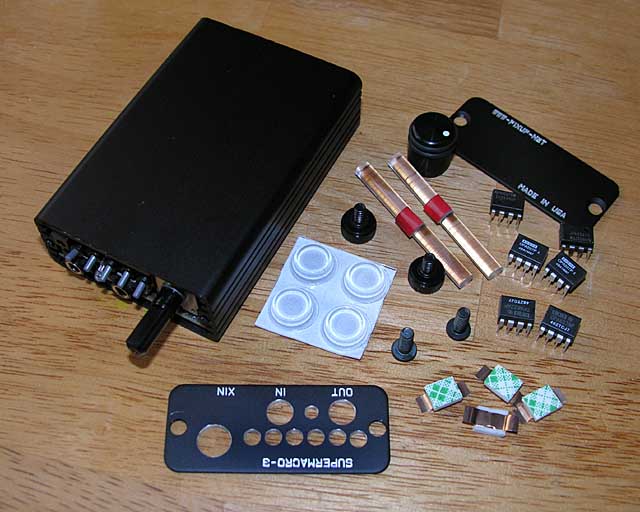
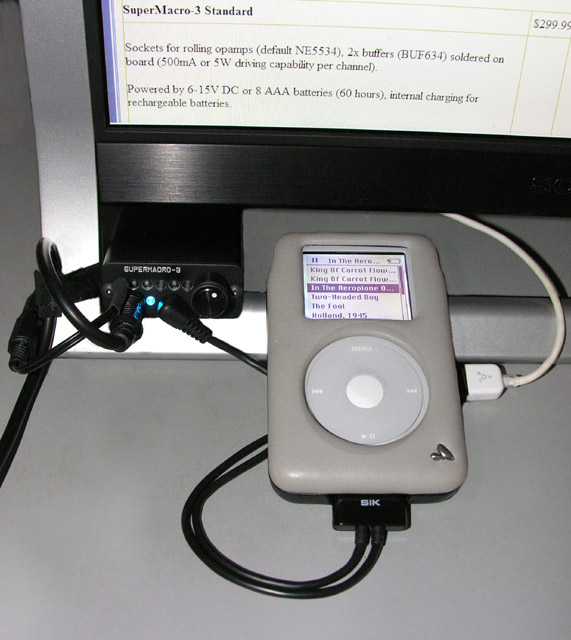
It's powered by 8 AAA batteries, or an AC adapter. I ordered the optional switches so I could add impedance (good for my Etymotic ER4p phones), a little extra bass and (from time) to time, crossfeed. I was very happy with my version 1 SuperMacro, but then Xin developed version 3 and made us an offer that was tough to refuse. He let us upgrade our amps without requiring that we return the older version. So (with Xin's blessings) many of us ordered the replacement circuit boards, a new case and the assorted hardware and assembled a second amp from parts.... for a very good price. The actual assembly took 5 or 10 minutes... very straightforward. Now I can leave one at my office and keep one at home. Click on the small photos for larger views.
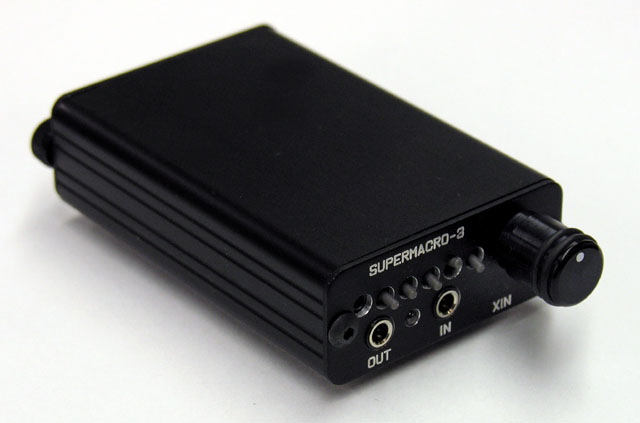
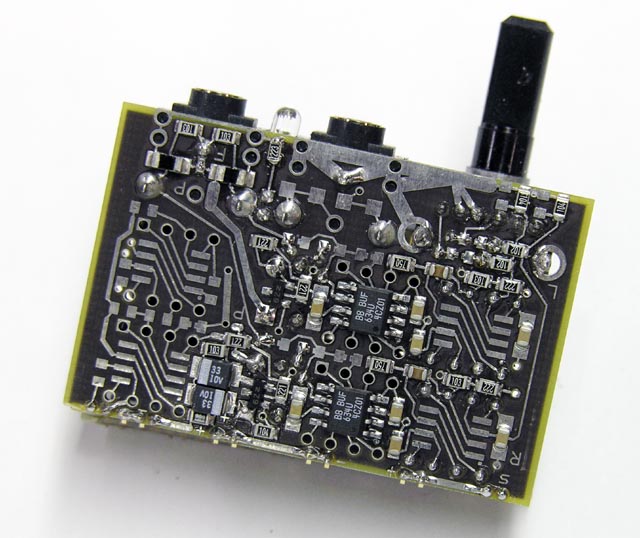
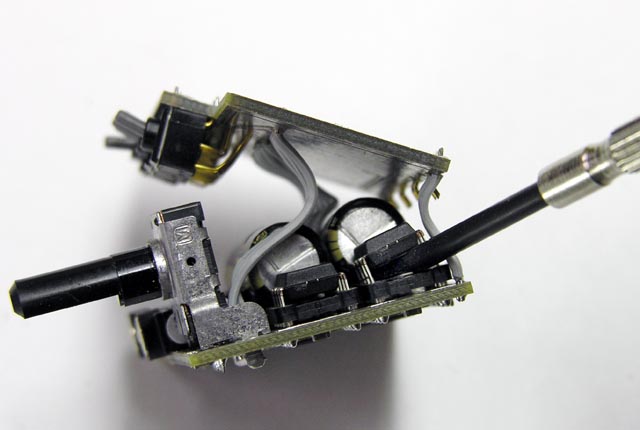
Amp RollingOne of the nice features of the SuperMacro-3 is the ability for users to experiment with different op-amps. Changing the op-amps can change the way the amp sounds with your headphones. As a test, I swapped out the standard NE5534 chips and replaced them with OPA627 chips. Because Xin makes all the amps socketed, the upgrade requires no soldering and takes just a couple of minutes. The only tools I needed were:
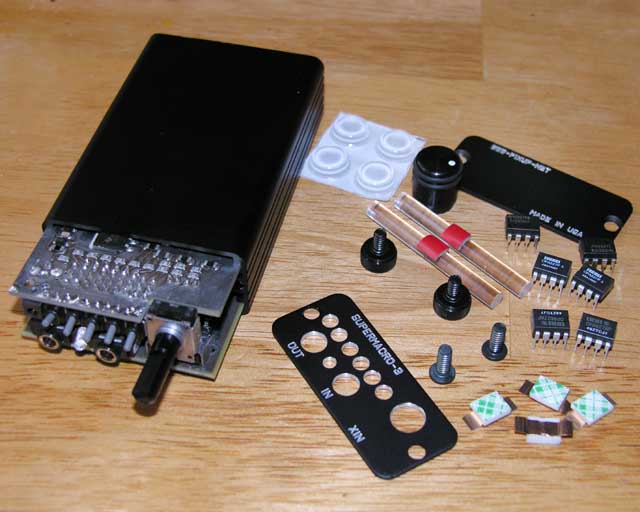
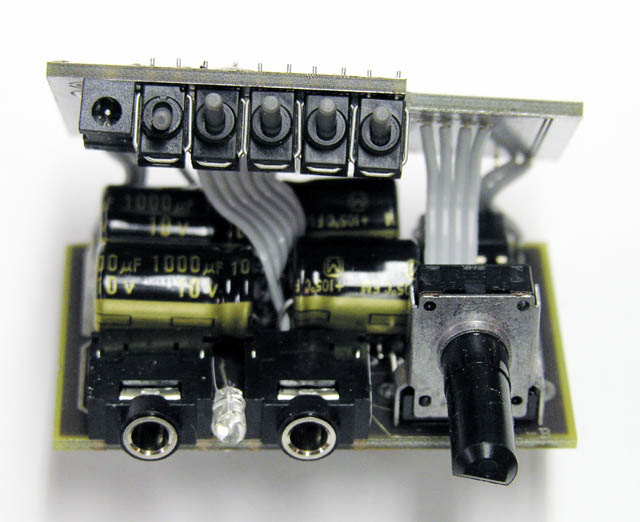
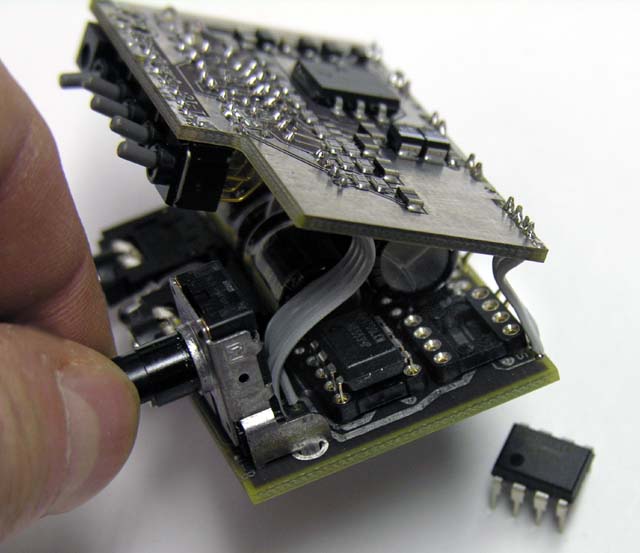
The photos show the assembled and then disassembled parts. Click on the small photos for larger images. To disassemble
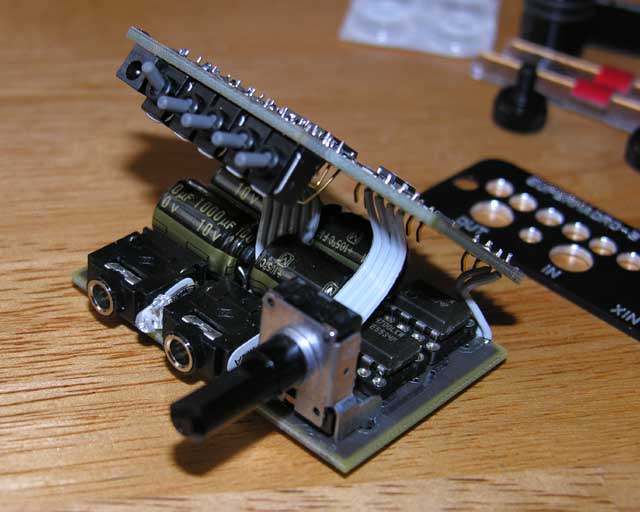
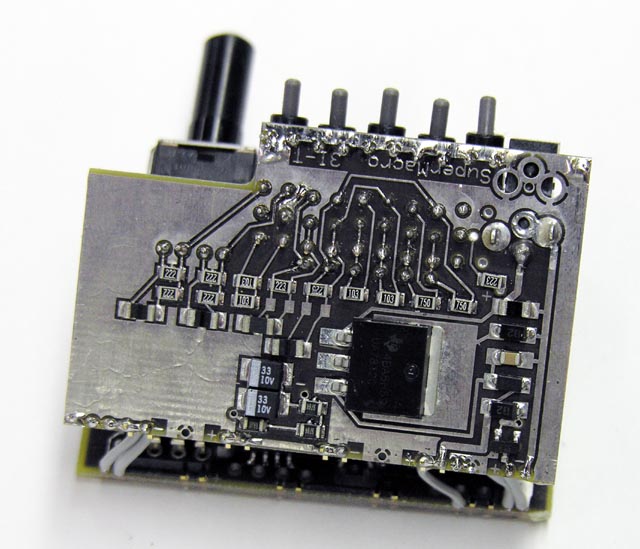
The boards are a marvel to look at... so much detail in so little space.
Use a small screwdriver or knife to gently pry up the existing chips. Note the
direction of the chips. There should be a small dot or notch that
indicates the orientation. The notch/dot should face towards the inside of
the amp, away from the edge.
Once the socket is open, it's time to prepare the chip for insertion. Normally the legs of the chips are spread a bit wider than the socket. So gently press the chip's side against a surface bending the legs in a little bit. Do the same for the other side of the chip. You can test if you've done this enough by placing the chip on the socket and seeing how well the legs line up with the holes.
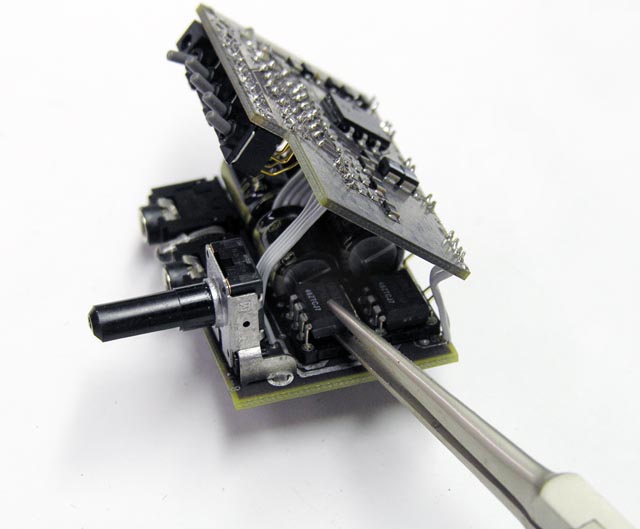
I didn't have any tweezers handy, so I used needle nose pliers to help position the chips, and then pressed the chips into place with my fingers.
Once the chips are in, reassemble the amp, and you're all ready to go.
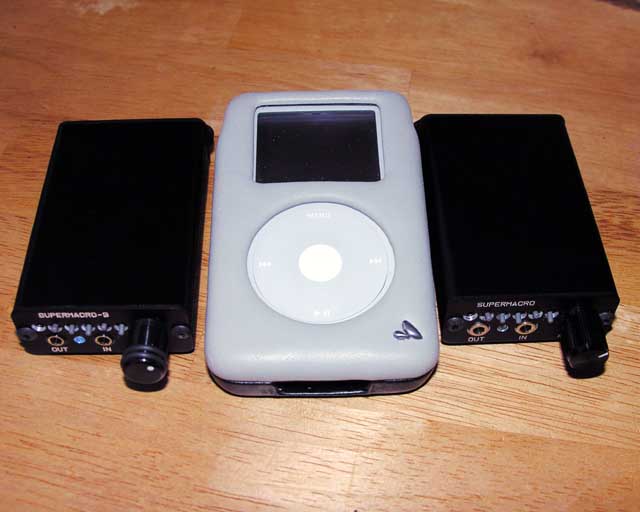
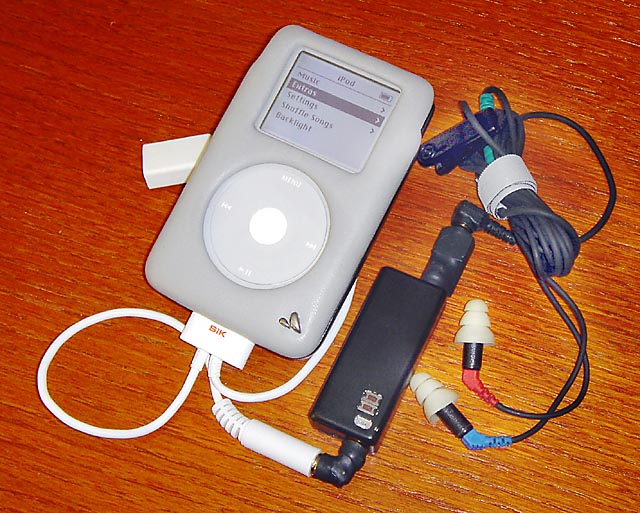
Xin SuperMicro AmpThe photo below shows a previous incarnation of my portable audio rig:
Unfortunately, the tiny SuperMicro stopped working one day and Xin was having trouble fixing it. This was because the SuperMicro was not currently in production, and he was working on the SuperMacro and new SuperMini models. So he agreed to apply the purchase cost of the SuperMicro to a SuperMacro... a good deal.
If you have comments, please visit the Guestbook.
Copyright © 2000 by Zenreich Systems. All rights reserved. |
|
All text and photographs copyright © 1999 - 2017 Zenreich Systems. All rights reserved. |